


The fishbone is another stitch with a plaited center that's perfect for embroidering leaves, feathers, or wings. The stitches cross slightly at the center and the resulting plaited effect forms the central rib. There's a variation called raised fishbone where the thread crosses over and behind the center. It raises the thread up a bit so it has a nice padded effect.
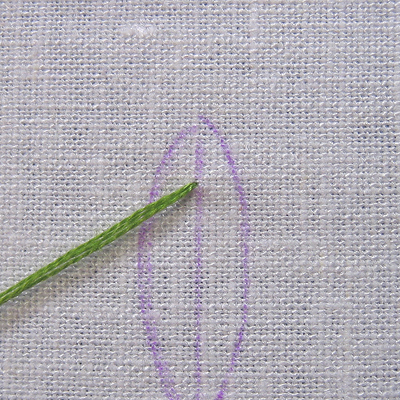
I've drawn a fat leaf shape with a center line that I'll fill with stitches, but this will work equally well for thinner and curvier leaves—like ferns (see more about that below). So, start by bringing your thread up on the center line near the top of the leaf.
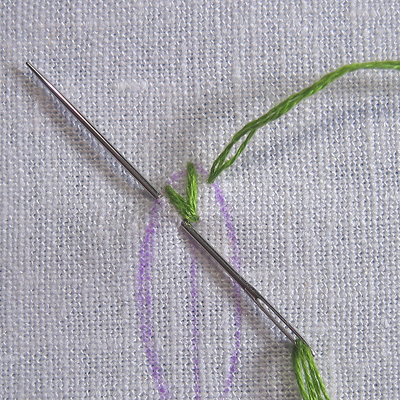
Take the needle from the very top point of the leaf to a point along the left side that's at an angle to where the thread starts. Keep your thread to the right.
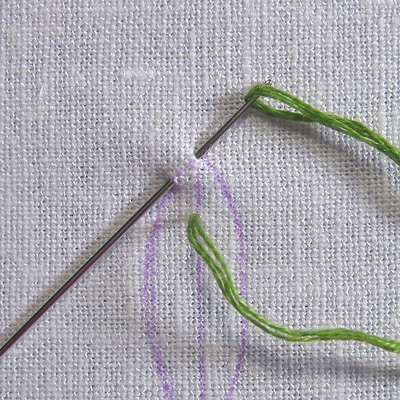
Pull your thread through. With your thread to the left, take your needle from a point slightly to the right of your first stitch to a diagonal point on the leaf outline.
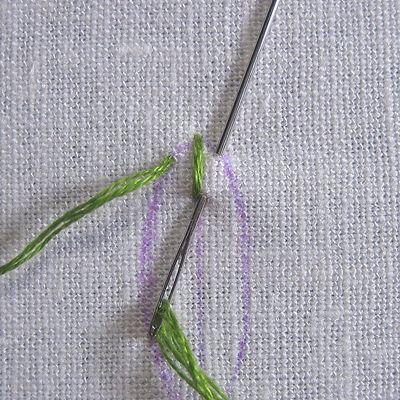
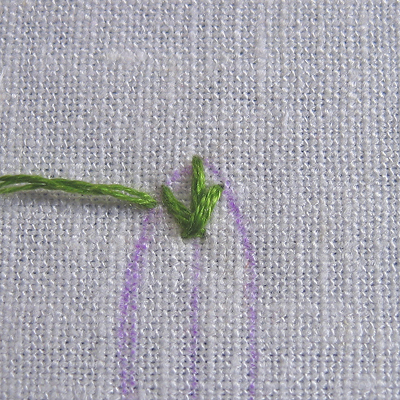
Pull the thread through. This is the first half of the completed stitch.
With your thread to the right, take the needle from a point slightly to the left of the previous stitch and angled up towards the left side of the leaf outline. You'll see that your thread crosses over the bottom of the previous stitch.
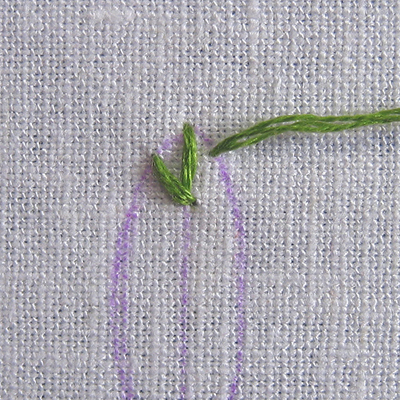
Pull your thread through to complete one stitch.
Now with your thread to the left repeat on the right side.
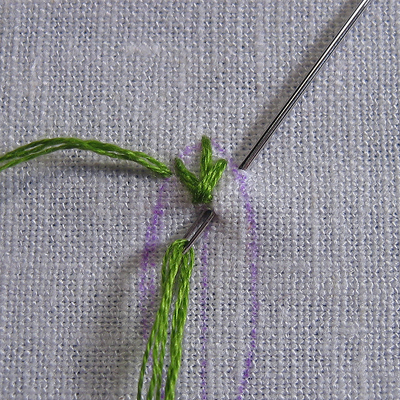
And again on the left (I've jumped ahead a little here—there's a couple of stitches taken in between).
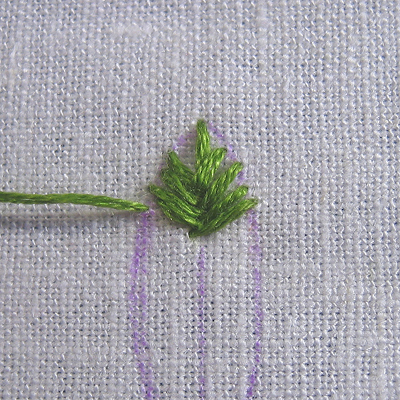
Continue stitching, alternating from left to right, until you've completely filled the leaf shape.

For a curved shape, increase the distance between the stitches on the outside curve and decrease the space on the inside curve. The sharper the curve, the greater the distance between the stitches on the outside line.

No comments:
Post a Comment