Preparing your fabric
You should always prewash your fabric before starting a project. There's nothing so disappointing as finding out that your fabric shrunk the first time you washed it and the embroidery floss didn't. You're left with a puckered mess and no amount of ironing will fix it. But, if you've purchased a vintage stamped-for-embroidery project DON'T wash it! The ink was designed to come out in the wash and it's likely that your design will disappear. You'll be glad of that later but finish your embroidery first :)
If you'll be working on a project that will take a while to finish you'll want to keep the raw edges of your fabric from fraying. Do this with a zigzag or overlock stitch on your sewing machine. Don't use masking tape to seal the edges because it might leave a sticky residue that will discolor the fabric and attract dirt. I always leave several inches of extra fabric around the design I'm working on. Fraying isn't an issue because I'll be cutting it away later. And it's nice to have some extra fabric to maneuver your hoop without getting too close to the edge.
Starting to stitch
When you're embroidering something that will get a lot of use—like aprons, table linens, pillowcases, or handkerchiefs—it's important that you secure the threads well so they don't come undone when you wash them. And, since you can see the back of all these things, you also need to keep your work very neat. If you're making a pillow or something where the back won't show, you don't need to take quite as much care as you would otherwise. You don't want lumps, of course, but if your work is a bit messy no one will know. But, in either case, you don't want to have your thread jump across a wide open area where it may show through on the front side. This is the most common mistake I see and it's an understandable one. You finish an area and there are a few more stitches in the same color somewhere else. And you think, why should I end here and start again over there? So you jump to the new area without thinking about the front. Don't do it!
OK, let's talk about some techniques for beginning and ending your threads. If you're embroidering on a textured fabric, one where a tiny lump won't be noticeable, using small knots to begin and end your stitches is perfectly acceptable. The texture does a good job of hiding them. And, if the knot will be hidden—like inside a hem on a towel, or between two layers of fabric that will be blanket-stitched together—by all means use a knot. But, if you don't have any cover, try one of these techniques:
Waste Knot
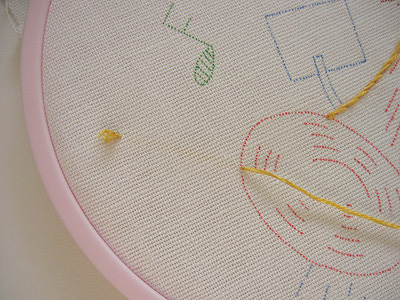
Knot the end of your thread and position it on the front of your fabric about 4 inches away from where you'll begin stitching. Bring your thread up and begin working. When you're finished, carefully cut the knot on the front. Then, pull the thread through to the back side, rethread it onto your needle and secure it by weaving under the stitching, cutting off any excess thread. (I've used this technique several times since I wrote this post and I've found that leaving 2 inches (the measurement I first posted) is not enough—use twice that—it's very difficult to rethread your needle and maneuver it when it's too short. Speaking from experience here!)
Back stitching
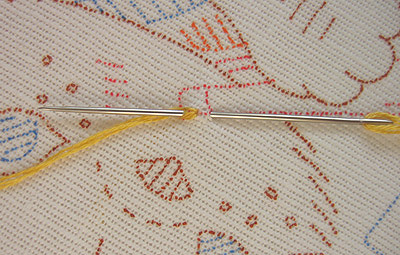
Bring your thread to the front in an area that will later be covered with embroidery, leaving a tail on the back. Take two tiny back stitches, splitting the first stitch with the second to make the thread very secure. Work over the area and after a short time, go back and trim the tail from the back. You can do the same thing when ending, but you'll work on the back instead of the front. This was a little hard to show in the photo, but you can look for the back stitch and split stitch posts in the sidebar if you need a refresher.
Weaving
Weaving involves taking your ending thread under and around some of your previous stitches on the back side. It's the method I use most often. When the back side of your work will be visible, the trick is to determine the best place to hide the tail thread. With satin stitch that's easy—the back looks just like the front so simply run your thread behind. With cross stitch, its a matter of running your thread between the rows.
The back of outline and stem stitch looks a lot like back stitch and you can take your thread through each individual stitch, following the line. When you're sure it's secure, trim off the tail.
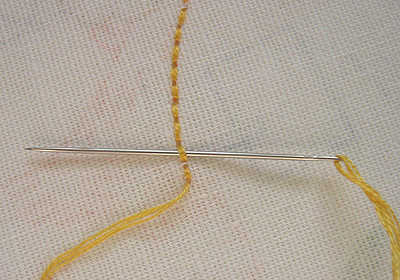
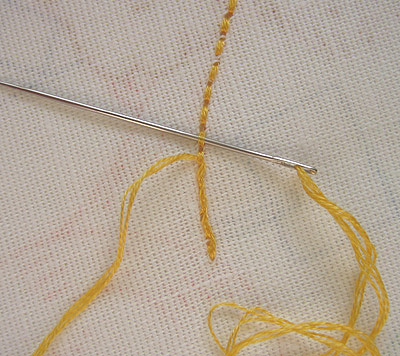
If you have an area with a series of short straight stitches on the front, you'll see the same effect on the back. Run your thread underneath them for a short ways, then trim off the tail.
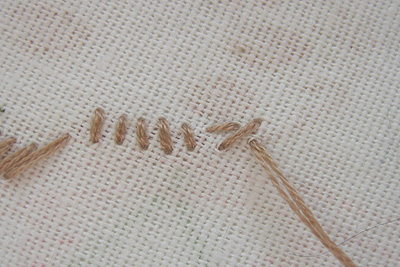
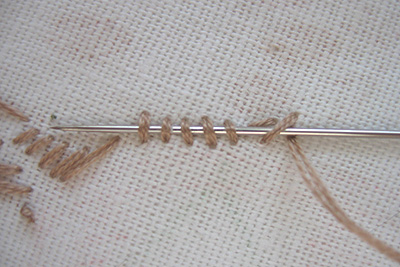
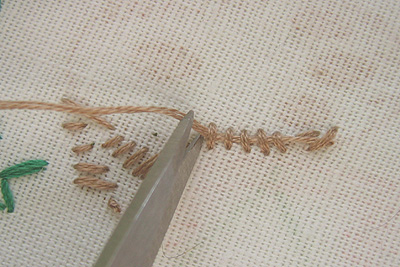
The secret is to not leave anything hanging from the back that could catch or pull. When you're finished with your project always go back and look over the back side for stray threads or tails on knots (if you've used them). Develop good habits from the beginning, then it will become second-nature and you'll always do neat work.


3 comments:
Love it. Now I have to retrain myself to do it this way, instead of my very messy way. I am going to link this tutorial to you in a future post on my blog if thats allright?
Back to reading your posts now.
Trudy
Peterborough ON
Feel free to link as much as you like!
Just "waisted" a whole afternoon nap time practicing stitches! I'm hooked! I haven't done this since I was in 3rd grade!
Post a Comment