I’ve worked my example in two colors so it’s easy to see what’s happening with the second thread. To do this stitch, you have to start with a perfect line of evenly spaced back stitches. If you've been following this series, back stitch was one of the very first stitches we learned. If you're just joining us, you can find it here.
So, do your row of back stitch.
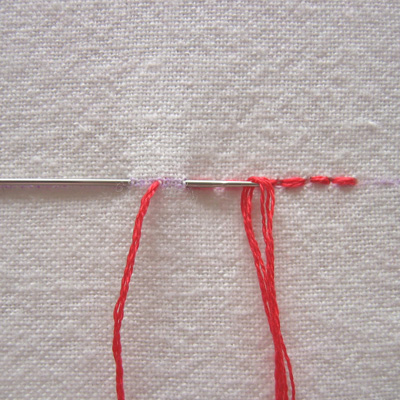
Then begin by bringing your thread up at the very end of the row. Slide your needle up under the second to last stitch. You’re not piercing the fabric but working under and on top of the back stitches.
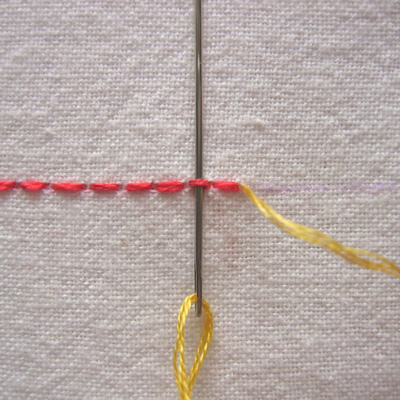
Your thread has now formed a small loop below the first back stitch. Slide your needle under this stitch from top to bottom, keeping your needle under the loop as well. Pull the thread through loosely. You want to keep some of that loop so don’t pull too tightly.
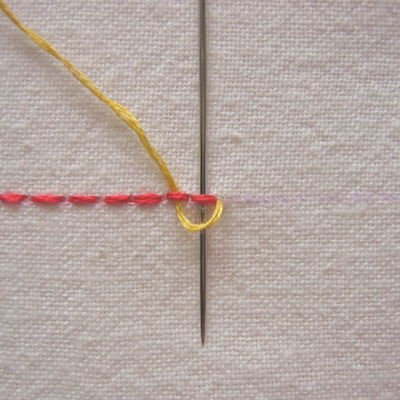
Slide your needle up under the third back stitch.
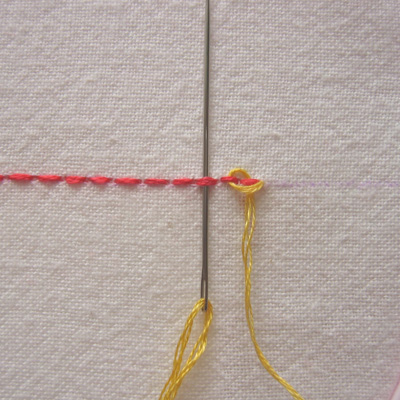
Then from top to bottom through the second back stitch.
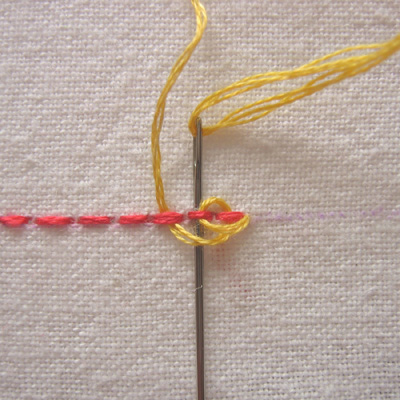
Keep looping your thread in this manner until you reach the end of the row. Finally you'll have a row of tiny loops above and below the back stitch. This does take a little practice to keep the loops even so don't get discouraged if your first attempts aren't perfect.
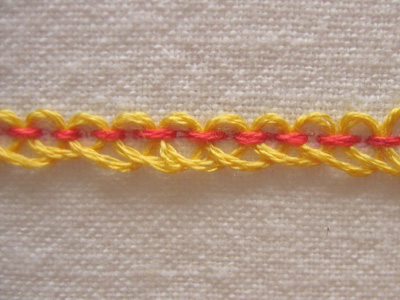
If you look at the page I’ve linked to, they’ve used heavier silk threads for some of their embroidery. In that case, I think you could pull the loops tighter for a pretty knotted effect. Don’t be afraid to experiment with different kinds and thicknesses of thread for different effects. If you’re not sure how it will look or whether you’ll like it, do a test first. Work out any problems before you start on the finished piece—that’s much easier than trying to take out stitches later.


1 comment:
I would love to see you work this stitch around a corner, such as the tip of a leaf.
Post a Comment