


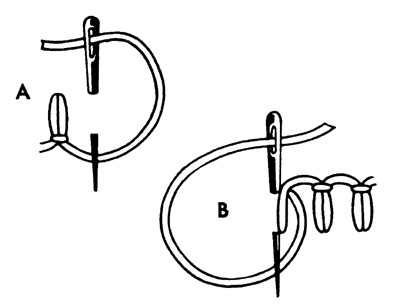
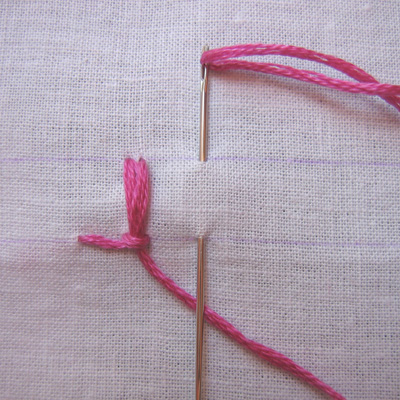
And now to the photos. Begin on the bottom line as for regular buttonhole stitch and pull the thread through.
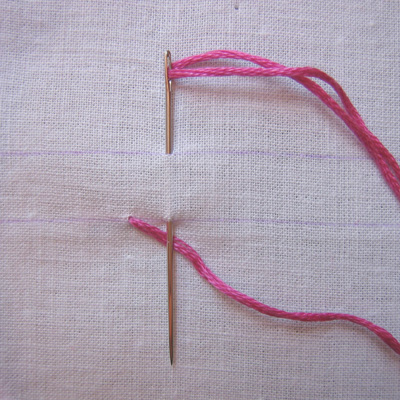
Holding the thread with your left thumb, insert your needle on the bottom line and take a stitch straight up and alongside the previous stitch.
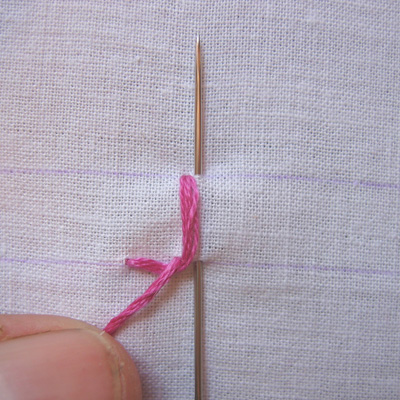
Pull the thread through in an upward motion. You'll see the little loop at the bottom tightens to hold the stitch. Take your thread back down through that little loop.
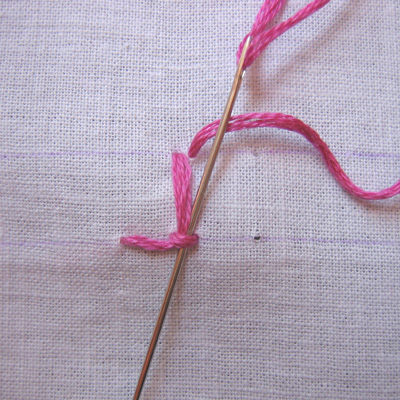
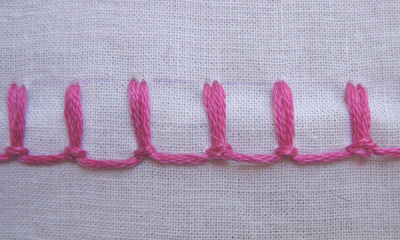
Repeat, and continue along until you've completed your length. Take your thread to the back and finish off.
Here's what it looks like when complete. If you look at this upside down it looks like little tassels—that might be handy for something in the future.

1 comment:
My favourite buttonhole stitch variation!
Post a Comment