


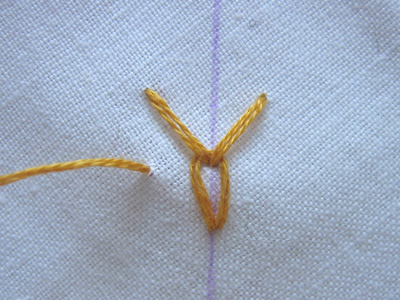
We'll use gold thread to get the full wheaty effect, but this would also be pretty for a border in other colors, too. Bring your thread to the front to the left of the top of your drawn line. Then take the needle to the back on the line and about 1/4 inch down towards you.
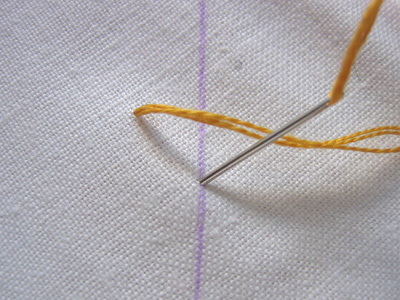
Pull the thread through and come up again 1/4 inch to the right of the drawn line, directly opposite the first stitch. Take the needle to the back using the same hole as your first stitch.
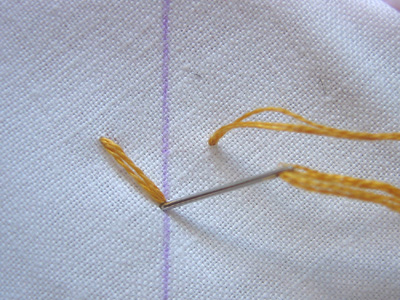
Pull the thread through, forming a V shape. Come up again on the line about 1/4 inch below the bottom of the V.
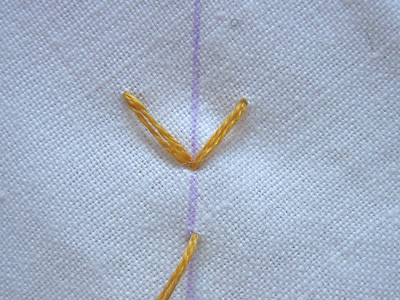
Slide your needle from right to left behind the previous two stitches at the base of the V, being careful not to pierce the fabric.

Take your needle to the back again using the same hole in the fabric and forming a loop under the point of the V. Pull your thread through and bring the needle up to the left of the loop and in line with the beginning of the first stitch above it.
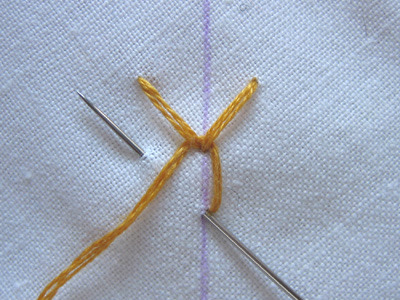
Repeat, using the hole at the base of the V for the end of each stitch and looping your thread through each time.
Continue working down the line and take a stitch to the back at the base of the final V. Here's what it looks like finished. Cool, huh?
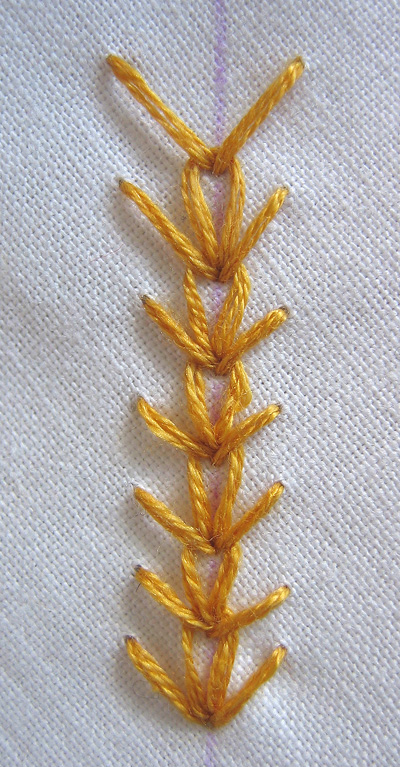
Try this with a V that's less wide if you want a more compact-looking wheat sheaf—the loops and side pieces blend together more.

6 comments:
I just found your blog, and I love it! I'm a super-beginner when it comes to sewing, stitching, or anything like that, but your tutorials make it look like I can do it! Thank you!
ooooooh... Love this stitch!! Adding you to my list of daily blog reads!!
Thanks Again!
I love your tutotrials!! :)
tutorials!!! Oeps ;0
Oi,
Obrigada pelo carinho e pela ajuda. O tutorial está ótimo e ilustrado.
Beijos. Elaine Regina
www.fiodourado2.blogspot.com
I found your blog, nice to see the stichs I want to use for my needlework. I just pick up the hobby again and I have lots of fun to make ( for me) new shapes like biscornus. Thanks for your tutorial!
Liz
Post a Comment