01 January 2010

herringbone stitch

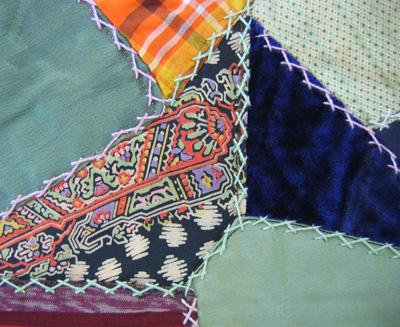
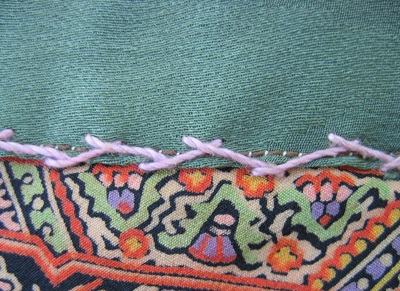
Herringbone Stitch is also called plaited stitch or catch stitch, and is often used to work decorative borders and to accent the patchwork in crazy quilting. This example is an unquilted crazy quilt top that I inherited from my grandmother and each fabric patch is stitched along the edge with herringbone stitch.
hb_10

hb_11

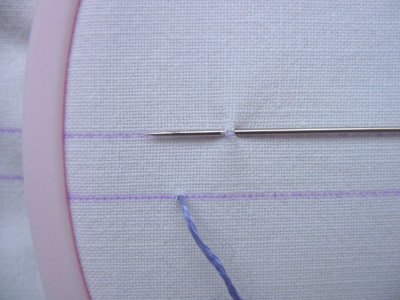
When you first try this stitch you’ll want to draw parallel lines to help you keep the spacing even. After you’ve practiced a bit you can do it by eye. Part of the charm of hand embroidery (and the reason I’m not crazy about machine embroidery) is that it’s not perfect. It’s hand done and it looks that way. Anyone can pop a template into their sewing machine and get perfect results. In my opinion, that’s not embroidery!

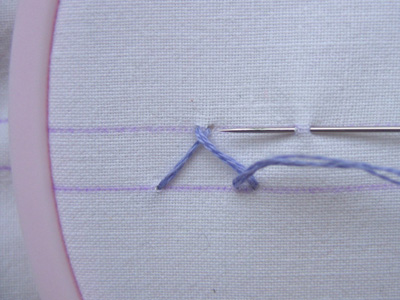
To start, bring your thread to the front on the bottom line. With your thread below the needle, take the needle from right to left on the upper line picking up approximately 1/16 inch of fabric. You can space this stitch tightly or loosely and vary the depth as well, depending on the look you want. The example in the quilt above and the towel edge below both have wide spacing and shallow depth. I'm using about 1/4 inch for both depth and width because I'm showing you a variation below where I'll need some space.
hb_1

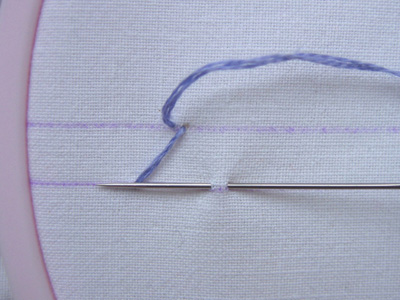
Pull the needle through. With the thread above the needle, take your needle from right to left on the bottom line, picking up 1/16 inch of fabric and spacing it the same distance away as your first stitch.
hb_2

Pull the thread through. With the thread below the needle, pick up 1/16 inch of fabric on the upper line, the same distance away as before.
hb_3

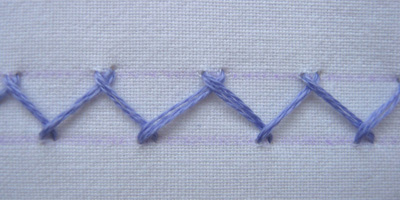
Continue working evenly-spaced stitches, alternating between the upper and lower lines.
hb_4

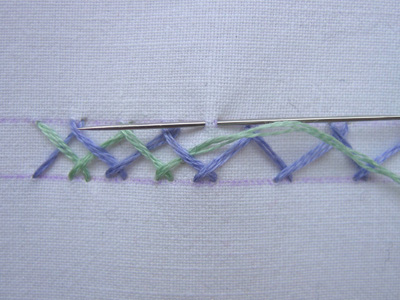
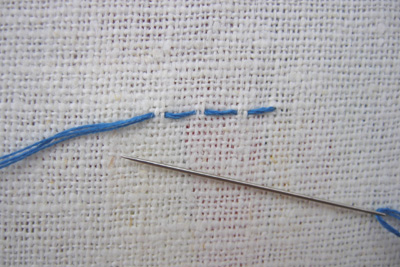
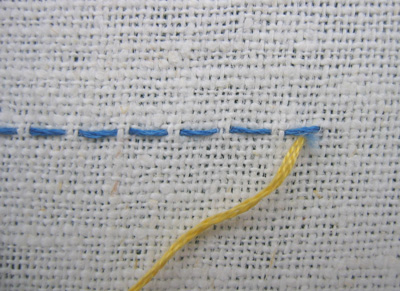
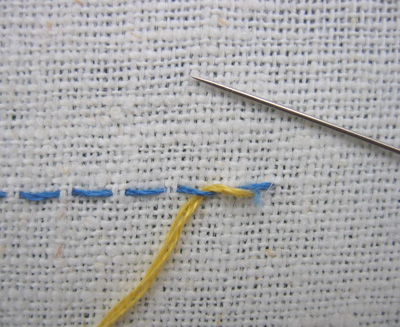
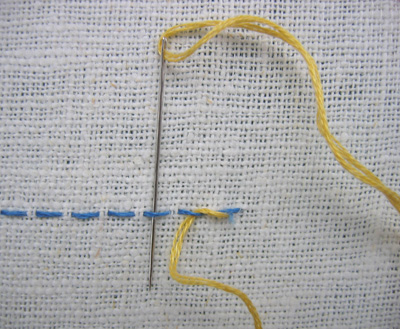
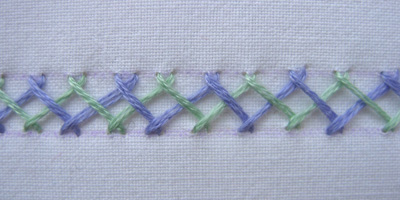
Now, if you want to get a little fancier, do another row of herringbone stitch in a contrasting color in between your first row. Interlace your threads by weaving them under and over the first row. This is called double herringbone or Indian herringbone.

hb_5

hb_6

hb_7

Here's how it looks finished. Pretty cool, isn’t it?
hb_8

Here's an example from a tea towel, worked in a double row—

hb_9

If anyone has finished examples of embroidery they've done as a result of these lessons and would like to show-and-tell let me know and I'll post a picture here or a link to your project if you have your own blog.

running stitch

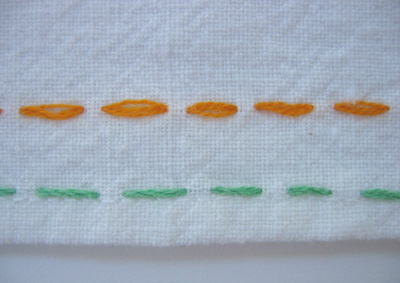
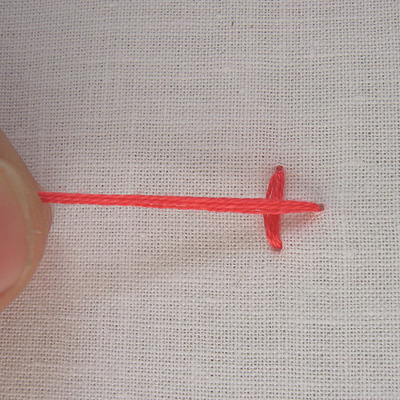
Running stitch is primarily used for borders and accent details. I’ve seen it trimming the bottoms of tea towels—a nice way to pick up some of the colors from your main image. This example is interesting because it shows the difference in how it looks if you keep your threads smooth so they fan out (top) or twisted like a braid (bottom). Either way is fine, just be consistent in each line that you do.
running_1

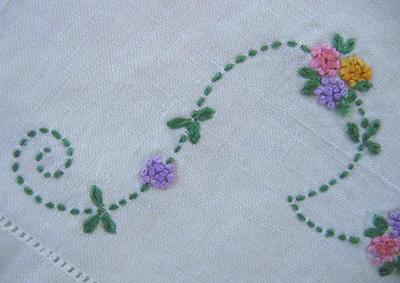
You can use it for stem-like scrolls—

running_2

And for structural elements—a trellis for flowers or a border like this Greek-key design.

running_3

Bring your thread to the front on the right hand side of the line to be stitched. I didn't draw a line because my fabric is linen and it's easy to use the holes in the weave as a guide. Take a small stitch, skimming your needle underneath the fabric along the line.

running_4

Pull your thread through, then take another stitch. Keep both the stitch length and the space in between the same each time. This is super easy when using linen—just count the same number of threads each time. At the end of the line weave your threads in at the back. And that's it.

running_6

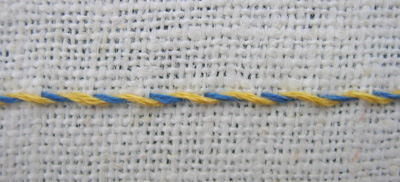
I almost feel like I'm cheating you this time around—it's so simple. So I'll add a variation called a Whipped Running Stitch. This is a nice way to add a second color to your work and makes a great-looking braided line.

After you've completed a line of running stitch, change your thread color. Bring the thread to the front just below the center of the first stitch on the right hand side.

running_7

Take your needle from top to bottom under the second stitch, making sure that you don't split the thread or pierce the fabric.

running_8

Pull the thread through keeping the tension loose. Take the needle from top to bottom under the third stitch; pull through.

running_9

Continue to the end of the line and take your thread to the back under the center of the last stitch. Here's what it looks like finished—

running_10

guilloche

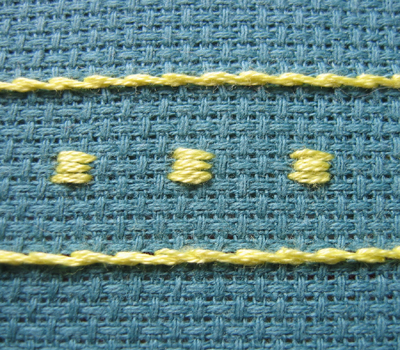
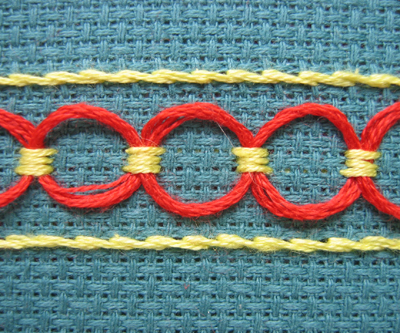
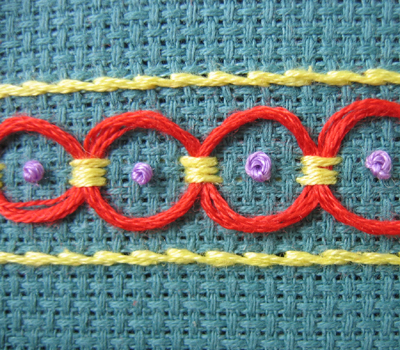
Another stitch from Erica Wilson's Embroidery Book is the guilloche. From the French verb guillocher, which means to ornament with line. This is a border stitch and it uses a combination of two parallel stem stitched lines and a series of small blocks formed from three straight stitches in between. A second thread is woven through to make circular spaces for the French knots to be placed inside. All of which makes for a nice way to work in a lot of color.

Start by embroidering two parallel lines of stem stitch about an inch apart. Then work small blocks of three straight stitches each, horizontally across the center space, keeping them evenly spaced between the lines of stem stitch and from each other.


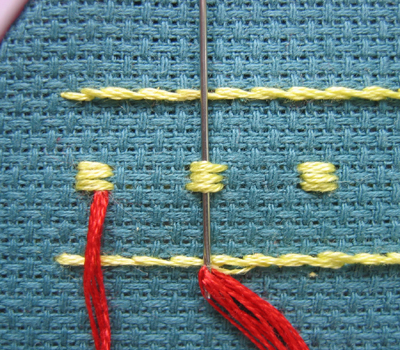
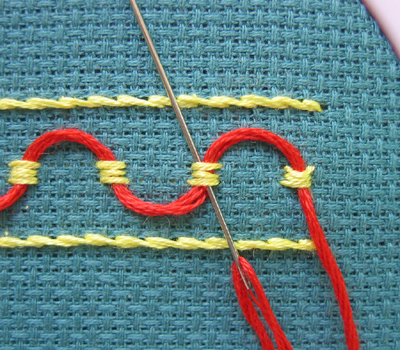
Then, using a blunt needle, slide through these blocks as shown. Leave the thread loose so that it curves instead of forming a sharp "V". You have to really work to keep them even (and I didn't do a perfect job of it myself).


Finally, work one French knot in the center of each circle.


I worked with aida cloth this time because it's really important that the spaces in between are even. You could use linen, too, and count carefully when you make your blocks of three lines.

satin stitch

There are actually a couple of ways to work satin stitch. One involves outlining your shape with split stitch and we haven’t done that one yet. So, this week I’ll show you an easier way to do this stitch and next week I’ll do split stitch and explain the difference.

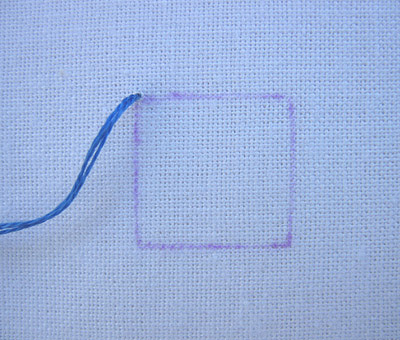
To do it this way you’ll need a clearly-defined shape drawn onto your fabric. I’m using a square but it can be any shape you like.

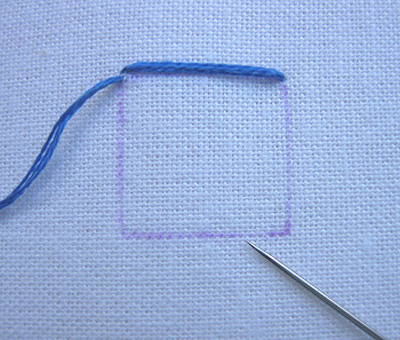
Bring your needle to the front at a corner of your shape.

satin_1

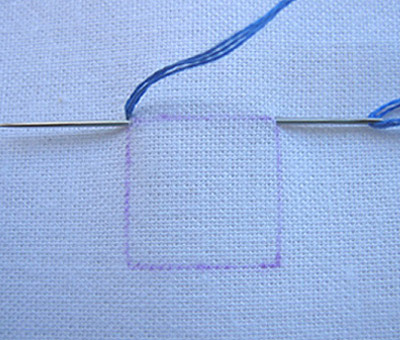
Take your needle down at the opposite corner, then up again right next to where your needle first emerged.

satin_2

Pull the thread through making sure your floss lays flat.

satin_3

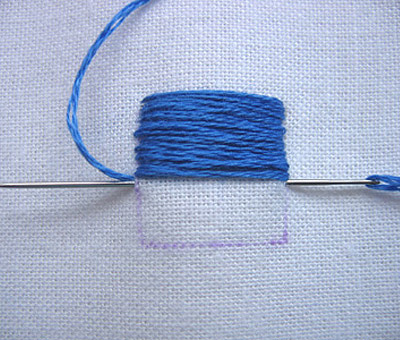
Placing your stitches close together, continue along until your shape is filled. Follow the exact guidelines you’ve drawn for a smooth, even edge. This is actually pretty hard to achieve so I'm looking forward to trying the outlining technique.

satin_4

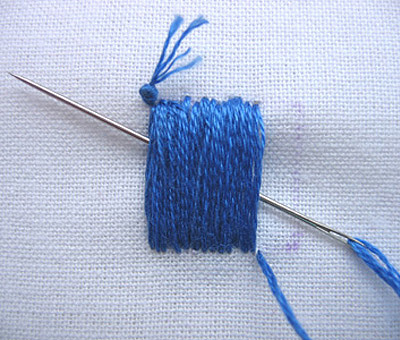
When you’re finished filling the shape, hide your ending thread behind the shape by weaving it in under the threads on the back. You'll notice that the back looks very much like the front.

satin_5

Essentially you’re doing the same stitch we learned last week except that you’re packing them closely together to make a smooth surface.

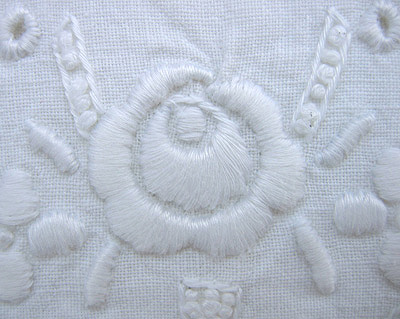
With the split stitch technique you’ll first outline your shape then work over that outline. Another technique is called padded satin stitch. For this you make a series of small stitches in the center of your shape, then work the satin stitch over the top. This raises the surface of your shape slightly. You’ll see this technique used a lot in whitework.

satin_7

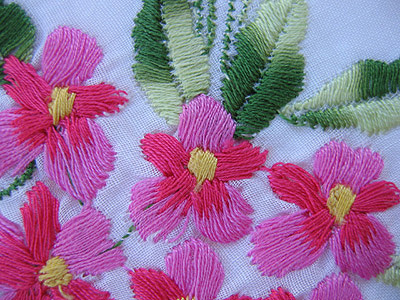
Here are a few examples of satin stitch. It’s great for flower petals and leaves.

satin_6

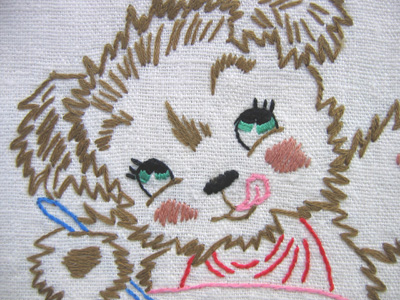
And for animal eyes and noses.

satin_8

straight stitch

I was wrong when I said that stem and outline stitch are the most common stitches. The straight stitch is even more basic. It can be stitched in any direction and any length and it forms the basis for many other stitches. This stitch is so easy that I almost don't need to show pictures, but I will anyway.

Bring your threaded needle to the front.

straight stitch 1

Take the needle to the back at the end of the stitch and come up at the beginning of the next one.

straight stitch 2

Pull the thread through making sure you don't twist the thread. You want it to lay flat and, oops, don't look too closely at my example because I didn't do this. At your last stitch keep your thread at the back and weave it under your previous stitches. Easy peasy.

straight stitch 3

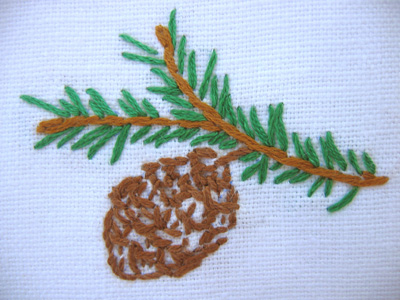
Used alone, this stitch is great for detailing—like in these individual pine needles

straight stitch 4

For animal fur (and as the basis for those yellow cross stitches)

straight stitch 7

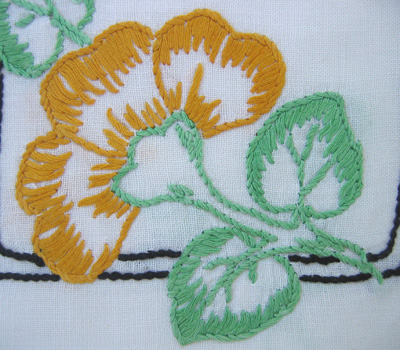
Combined with outline stitch for shading in leaves and flowers

straight stitch 5

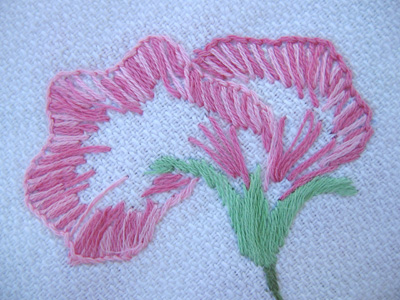
Here's another flower, and you’ll notice that the sepal is also done in straight stitch but with densely packed together threads. This is called satin stitch.

straight stitch 6

When I work straight stitch I often use more strands of floss than I would for a stem or outline stitch. Those stitches become thick because of the braiding and overlapping of the threads and you don't get that with straight stitch. I've found that four strands is about right for most things.

granitos

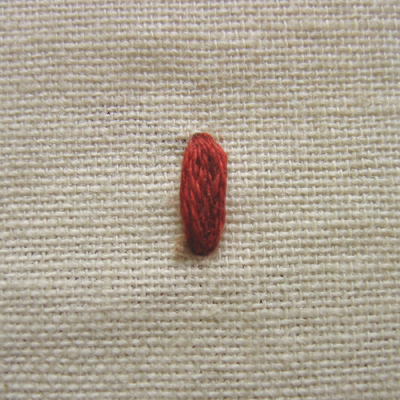
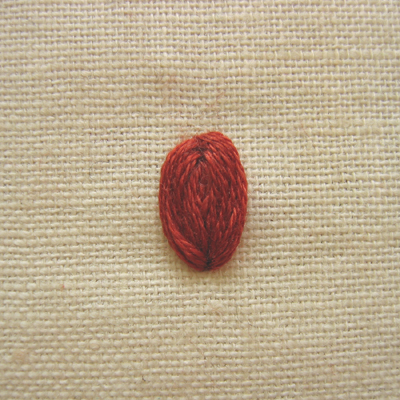
Another relatively easy stitch is called Granitos. As near as I can figure, granitos means "little grains" in Spanish—like in grains of sugar "granitos de azucar". It is a sweet little stitch so there you go :)

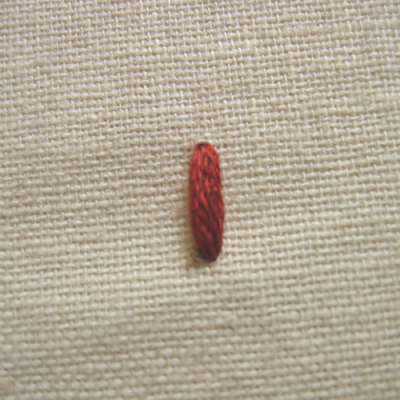
Granitos are done with small straight stitches laid side by side and using the same holes in the fabric. It makes a slightly raised elongated dot. Here's how you do it.

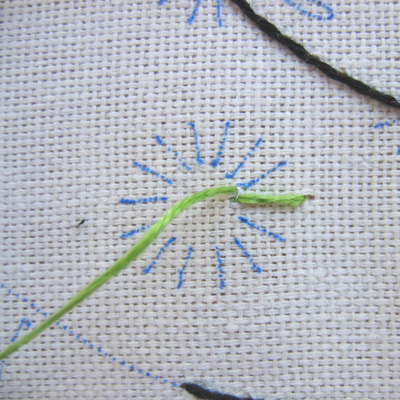
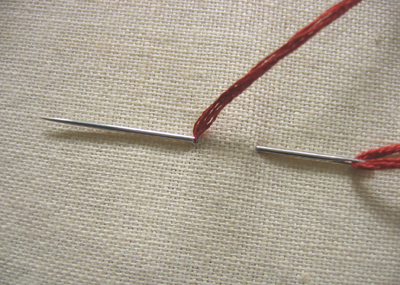
Bring your thread to the front, then to the back a short distance away. Come up again in exactly the same hole where you began.

gran_1

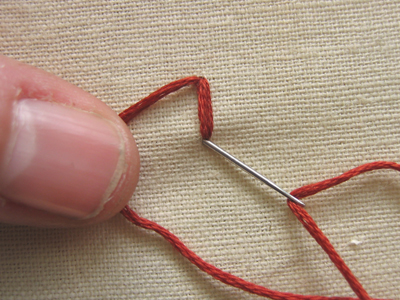
Pull your thread through. Loop the thread to the left and take the needle to the back in the same hole (the second one) as before. It helps to hold the loop with your thumb.

gran_2

Gently pull the thread through, making sure that it lies to the left and directly next to the first stitch. Your thumb helps here, too.

gran_3

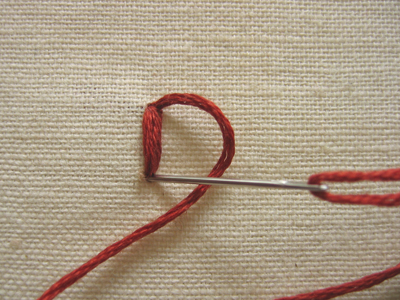
Repeat, but this time loop your thread to the right.

gran_4

Pull your thread through, making sure it lays along the right side.

gran_5

Continue adding thread and alternating sides until you've completed your shape. I used six strands of floss for this and four stitches on each side of the first one.

gran_6

Perfect for flower buds and petals (instead of the usual lazy daisy).

four-legged knot

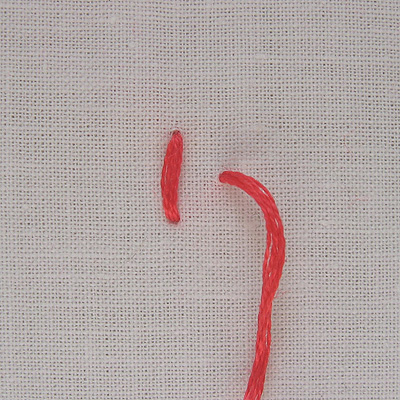
The four-legged knot stitch looks like a simple cross stitch with a knot in the center, but the knot is actually part of the second crossed thread not done afterward and on top. A bit hard to explain but you'll see what I mean in a minute.

Take a stitch from top to bottom—this will become the first half of the cross. Then bring your needle up to begin the second half of the cross and pull your thread through.


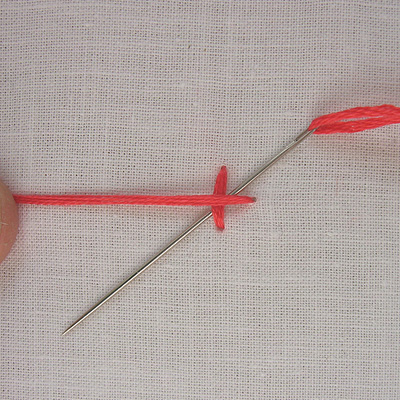
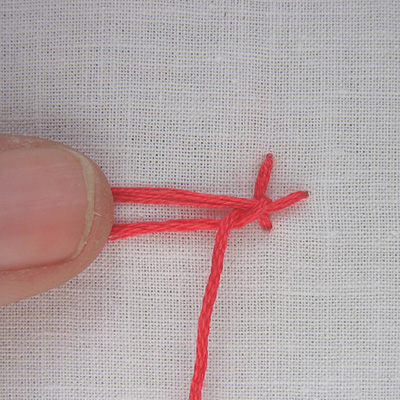
Lay the thread across the center of the stitch and hold it with your thumb.


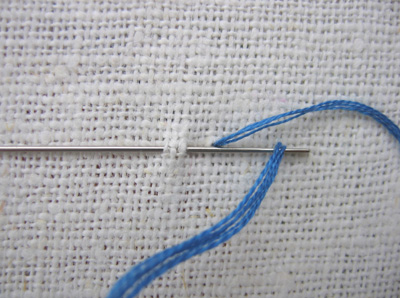
With the thread looped below, slide your needle diagonally from upper right to lower left and under both threads.


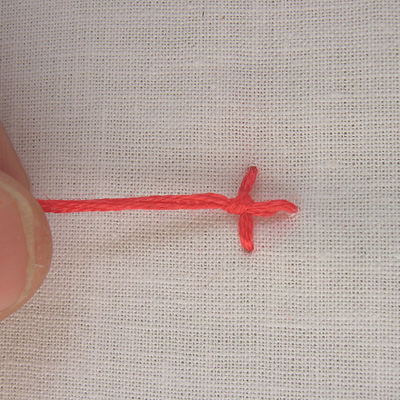
Pull the thread through gently making sure the loop is under the tip of the needle.


Continue to pull it through, guiding the thread with your thumb, until the knot tightens.


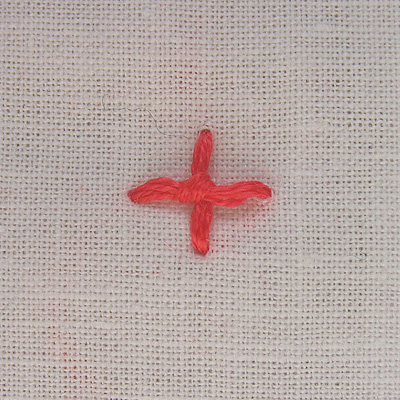
Then bring your needle and thread to the back to complete the cross. And it looks like this.


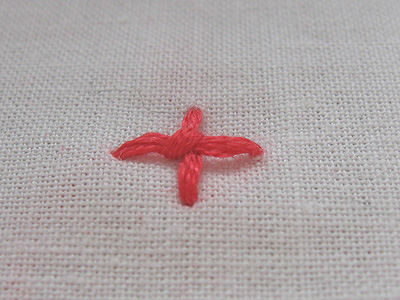
Here's a side view so you can see the knot a little better.