12 February 2010

free Valentine's pattern

I'm offering a free embroidery pattern to say Happy Valentine's Day and as a thank you for your support of Stitch School. I get comments nearly every day, especially on the French knot and blanket stitch posts, and I'm so happy that people are still finding those old posts helpful in their pursuit of embroidery.

LoveUCat pattern

Isn't he cute? The pattern is just one design of twelve in my Year of Cats pattern. You'll find a copy of the February kitty here.

kitten towel

This is what what the design looks like embroidered on a towel with cute heart-themed fabric and pink rick rack trim. I love to use ginger colors for cats but gray, beige, or black work equally well. You can use whatever color you like for his striped pants—I picked up the green from the leaves in the fabric to tie everything together.

19 January 2010

time for tea

I recently helped out Susan at The T-Cozy by drafting a pattern from a very cute tea towel in her personal collection and she's now offering the pattern for sale on her Kitsch Encounter blog. The design is mostly cross stitch with a few outline and lazy daisy stitches so would be perfect as a first embroidery project for a beginning embroiderer. I used the colors from the original for the pattern (except for changing the leaves to green) but you could easily change that up to match your own kitchen decor.


It's $6 for the pattern and you'll receive a black and white traceable version, a color version that you can follow to count your own stitches (on open weave linen or cotton), a stitch guide, an instruction sheet on how to transfer patterns, and a color reproduction of the original tea towel, all packaged in a plastic sleeve. And shipping is included in the price!

You might also like the Home Sweet Home pattern I did for her a few years ago. But be warned—this one is pretty difficult. Lots of color changes, more variety of stitches, and hundreds of (or at least it seemed like) little flowers but great practice for French knots and lazy-daisy stitches!

02 January 2010

couching

In embroidery, couching is a technique for attaching a length of thread to a base fabric by taking tiny stitches over it at regular intervals. The word couch comes from the French verb "coucher" which means to lay down, so it really applies to attaching just about anything (embroidery floss, thin cord, wool, or even ribbon) as long as it uses stitches over or on top. You can couch a length of ribbon with a row of French knots running down the center or by laying a row of herringbone stitches over the top. I'm going to talk about the traditional embroidery stitch today but don't be afraid to think outside the box and use the technique for attaching other things besides thread.

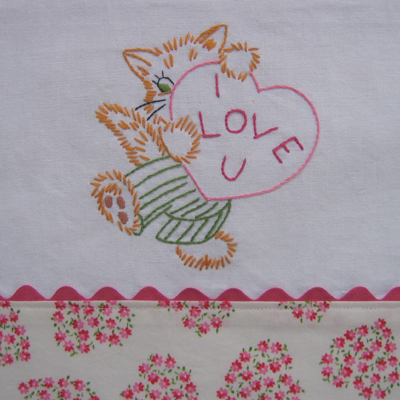
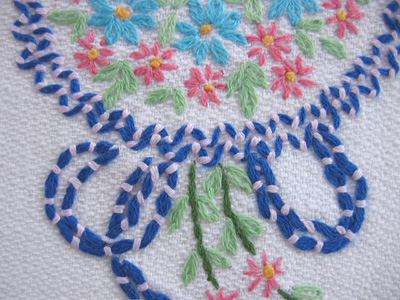
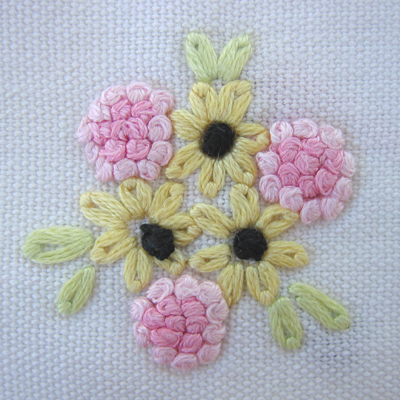
Couching looks really pretty when worked in two colors and is a nice alternative for working outlines, especially ones that form loops and have lots of curves. I discovered a few examples where it's used this way in my linen stash. The first is from a runner with embroidered flower bouquets and ribbons and each of those ribbons is done with couching—the base thread is dark blue and the couching stitches are pink.

couch8

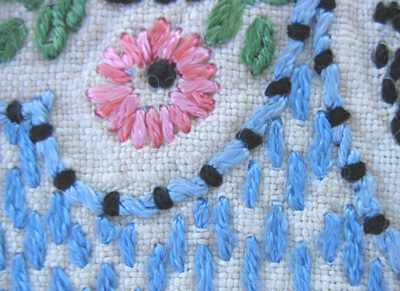
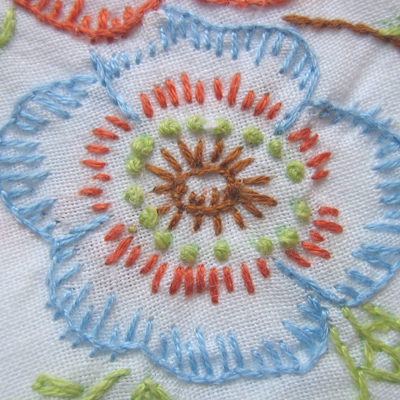
In the second example it's used as a substitute for outline stitch and is done with black stitches over blue.

couch7

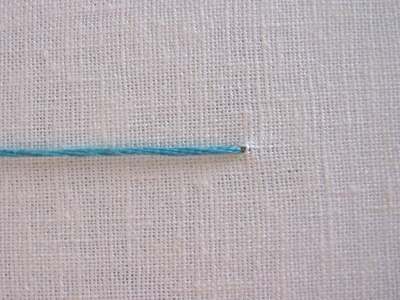
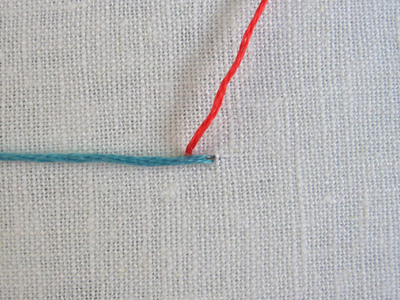
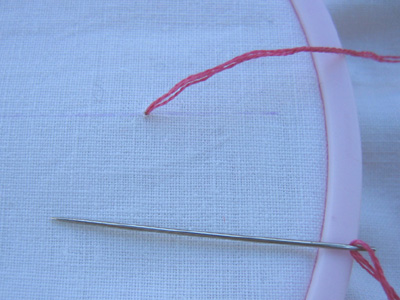
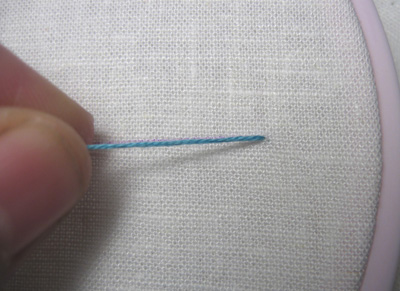
This is a super easy stitch. Bring your base or foundation thread to the front and lay it on the fabric. I worked a straight line but you can use it for curves as well. In fact, it works very well as a freeform technique if you don't quite know where you're going.

couch1

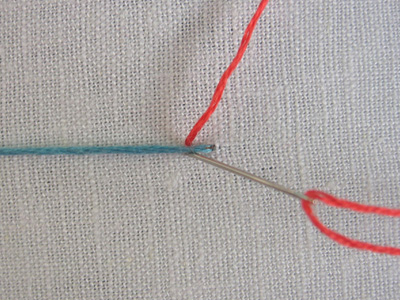
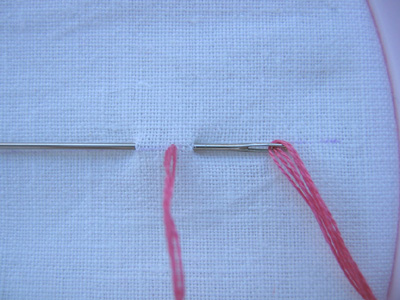
Now bring your couching thread to the front just above the thread you’ve laid down.

couch2

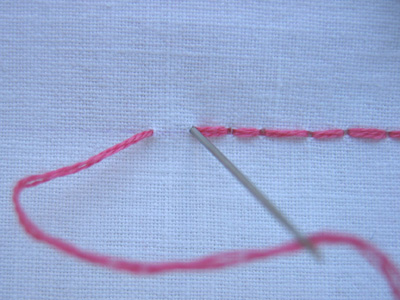
Take a tiny stitch over the base thread and pull the thread through to the back.

couch3

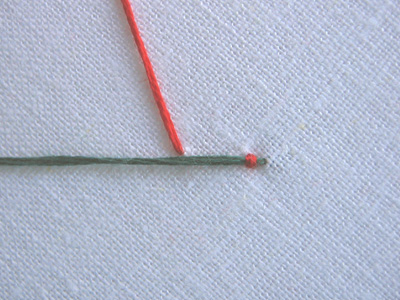
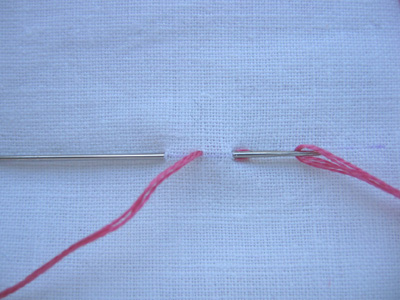
Bring your needle up a short distance from the first stitch and repeat.

couch4

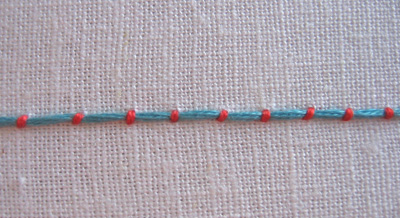
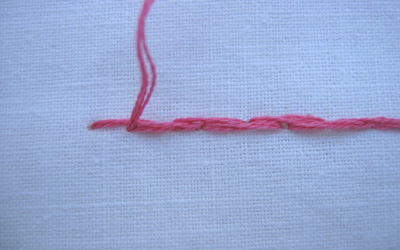
Here’s what it looks like finished—

couch5

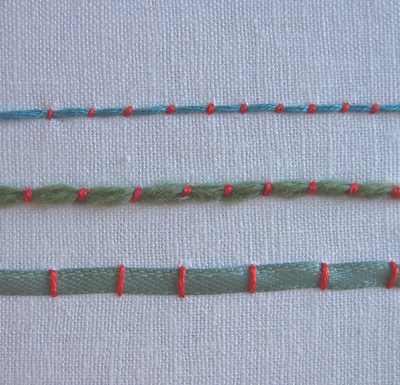
And here are some examples using different foundations. The middle one uses several strands of needlepoint wool and the bottom one uses thin satin ribbon.

couch6

I mentioned earlier that you can attach just about anything this way. Artist Megan Jeffery uses couching to attach wool yarn with embroidery thread to felt—and you can see some examples of her work here and here. And embroidery artist Debra Spincic has some beautiful pictures of her work on Flickr, many of which involve couching with ribbon and alternate stitches over the top. Be sure to follow her photostream to see lots of examples of the stitches we've already learned.

01 January 2010

back stitch

Back stitch is yet another stitch that can be used for outlining. Not much else to say about it, except that it's pretty simple to do.

Bring your thread to the front.

back_1

Take your needle to the back one stitch length to the right from where your thread emerges and reemerge on the other side at approximately the same distance. Mine is a little off, but you'll want to keep your stitches the same length.

back_2

Pull your thread through, then take your needle to the back through the same hole where the first stitch ends. Reemerge on the other side at the same distance.

back_3

back_4

Continue along until you reach the end of the line. Take your last stitch to the back through the hole at the end of the previous stitch and weave in the end.

back_5

This is what the finished line looks like:

back_7

And this is how it looks on the back—sort of woven.

back_6

new beginnings, happy endings

A reader asked a few weeks ago if I could talk about ending your work so it's both neat and holds up to washing and use. It's a subject that requires more than a simple answer, so I'm going to devote today's post to talking about it.

Preparing your fabric
You should always prewash your fabric before starting a project. There's nothing so disappointing as finding out that your fabric shrunk the first time you washed it and the embroidery floss didn't. You're left with a puckered mess and no amount of ironing will fix it. But, if you've purchased a vintage stamped-for-embroidery project DON'T wash it! The ink was designed to come out in the wash and it's likely that your design will disappear. You'll be glad of that later but finish your embroidery first :)

If you'll be working on a project that will take a while to finish you'll want to keep the raw edges of your fabric from fraying. Do this with a zigzag or overlock stitch on your sewing machine. Don't use masking tape to seal the edges because it might leave a sticky residue that will discolor the fabric and attract dirt. I always leave several inches of extra fabric around the design I'm working on. Fraying isn't an issue because I'll be cutting it away later. And it's nice to have some extra fabric to maneuver your hoop without getting too close to the edge.

french knot

French Knot or, as some of you have started referring to them, the dreaded French knot. Really, they aren’t that bad.

French knots are essential to embroidery because there’s nothing else quite small enough or that works so well for fine details—facial features like eyes and curls, for example.

fk7

They’re most often used singly for the centers of flowers, or massed together to form the flowers themselves.

fk6

fk8

They’re also very handy for making single dots—like for polka dots on a dress or for depicting fleece on a lamb (for a baby pillowcase, perhaps).

coral stitch

Today we're talking about coral stitch. Also called beaded stitch, German knot stitch, or snail trail, this stitch can be used singly to outline shapes, or worked in rows spaced closely together as a filling stitch, in which case you'll want to position the knots between those in the previous row. Here's how you do it:

Bring your thread to the front on the righthand side of your line and lay it along the line for a short distance, holding it in place with your thumb.

coral_1