


Back stitch is yet another stitch that can be used for outlining. Not much else to say about it, except that it's pretty simple to do.
Bring your thread to the front.
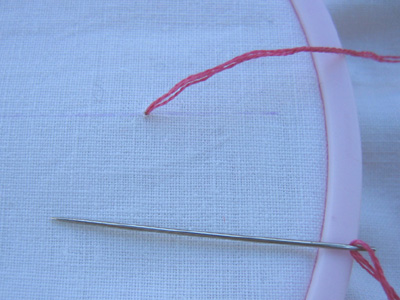
Take your needle to the back one stitch length to the right from where your thread emerges and reemerge on the other side at approximately the same distance. Mine is a little off, but you'll want to keep your stitches the same length.
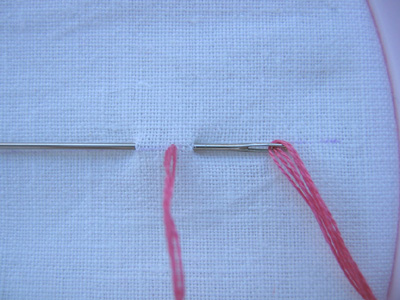
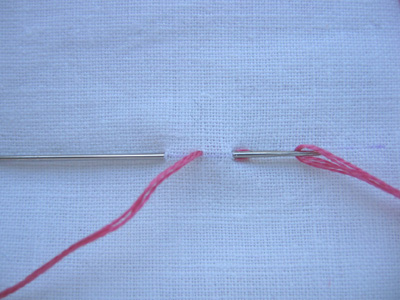
Pull your thread through, then take your needle to the back through the same hole where the first stitch ends. Reemerge on the other side at the same distance.

Continue along until you reach the end of the line. Take your last stitch to the back through the hole at the end of the previous stitch and weave in the end.
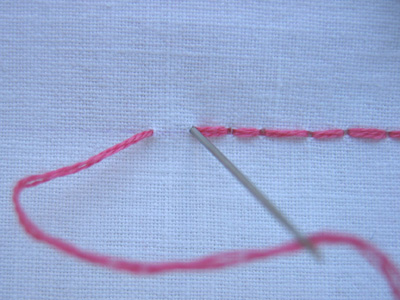
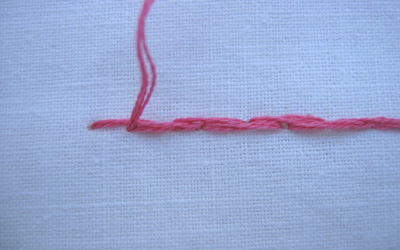
This is what the finished line looks like:

And this is how it looks on the back—sort of woven.

3 comments:
i can do that!
Hi! I am writing a tutorial on my blog for an embroidered bookmark. I used your post to help me with the embroidery I did. Would it be alright if I linked to this post to show others where to go for embroidery help? Thanks!
-Meghan
Meghan, of course you may post a link — I'm always happy to get more readers :)
Post a Comment