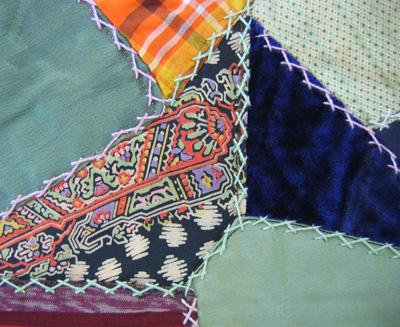
Herringbone Stitch is also called plaited stitch or catch stitch, and is often used to work decorative borders and to accent the patchwork in crazy quilting. This example is an unquilted crazy quilt top that I inherited from my grandmother and each fabric patch is stitched along the edge with herringbone stitch.
When you first try this stitch you’ll want to draw parallel lines to help you keep the spacing even. After you’ve practiced a bit you can do it by eye. Part of the charm of hand embroidery (and the reason I’m not crazy about machine embroidery) is that it’s not perfect. It’s hand done and it looks that way. Anyone can pop a template into their sewing machine and get perfect results. In my opinion, that’s not embroidery!
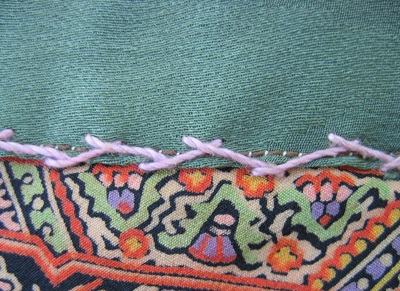
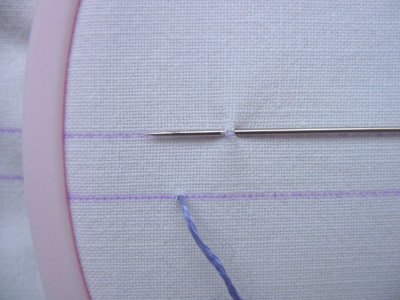
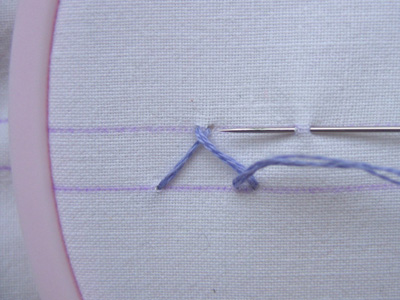
To start, bring your thread to the front on the bottom line. With your thread below the needle, take the needle from right to left on the upper line picking up approximately 1/16 inch of fabric. You can space this stitch tightly or loosely and vary the depth as well, depending on the look you want. The example in the quilt above and the towel edge below both have wide spacing and shallow depth. I'm using about 1/4 inch for both depth and width because I'm showing you a variation below where I'll need some space.
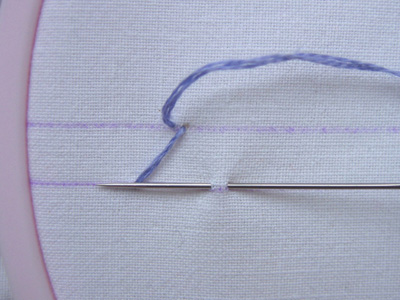
Pull the needle through. With the thread above the needle, take your needle from right to left on the bottom line, picking up 1/16 inch of fabric and spacing it the same distance away as your first stitch.
Pull the thread through. With the thread below the needle, pick up 1/16 inch of fabric on the upper line, the same distance away as before.
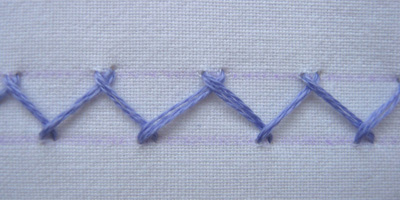
Continue working evenly-spaced stitches, alternating between the upper and lower lines.
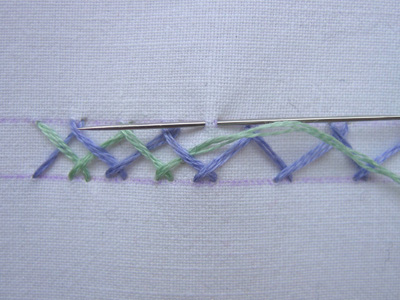
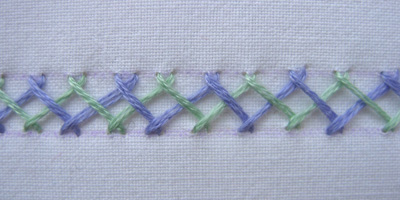
Now, if you want to get a little fancier, do another row of herringbone stitch in a contrasting color in between your first row. Interlace your threads by weaving them under and over the first row. This is called double herringbone or Indian herringbone.
Here's how it looks finished. Pretty cool, isn’t it?
Here's an example from a tea towel, worked in a double row—
If anyone has finished examples of embroidery they've done as a result of these lessons and would like to show-and-tell let me know and I'll post a picture here or a link to your project if you have your own blog.






1 comment:
This is a lovely tutorial, thank you.
Post a Comment