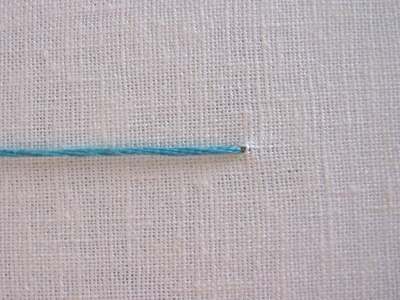
I used a coarser linen for this because I found it easier to keep the weave even by counting threads. You could mark your fabic first or do it by eye—if it's not absolutely perfect it will look like a rustic basket :)
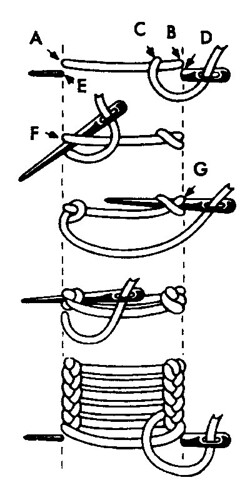
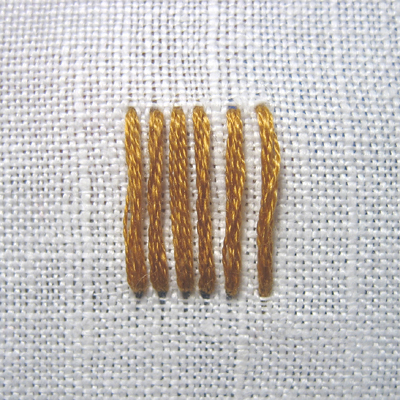
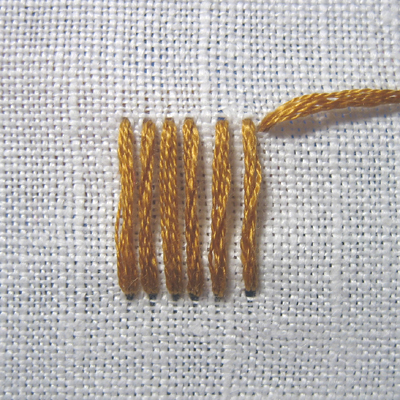
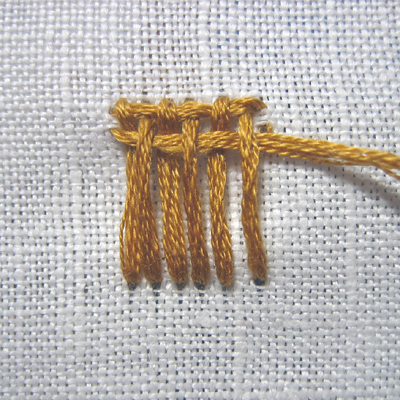
First make a series of vertical straight stitches, close together but not too close. You'll need enough space between the lines to do your weaving. And use all six strands of embroidery floss for a fuller effect.
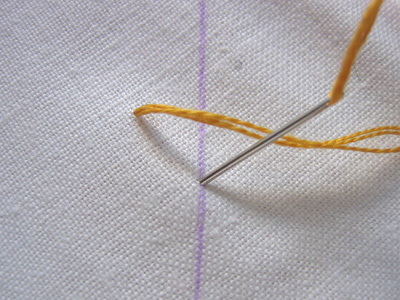
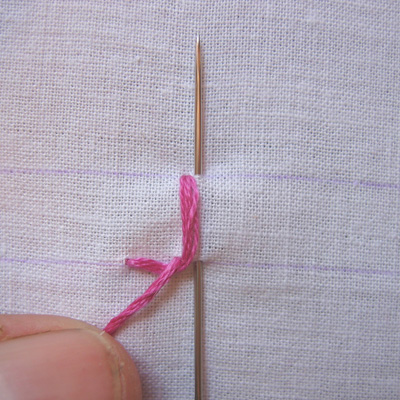
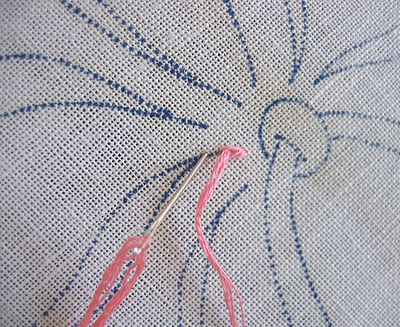
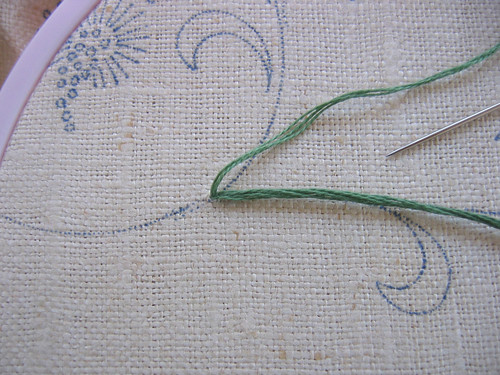
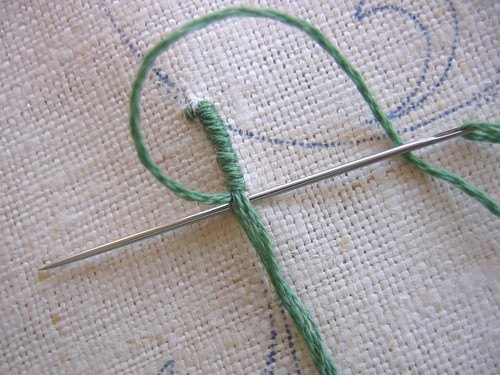
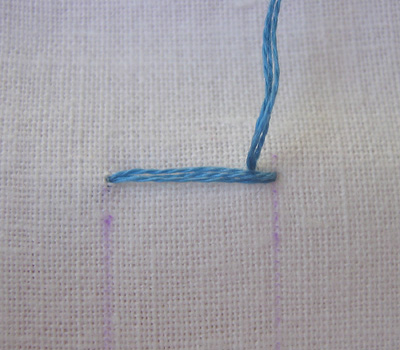
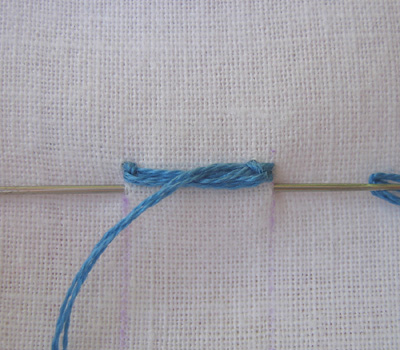
Bring your needle to the front just to the right of the last vertical line and very close to the top.
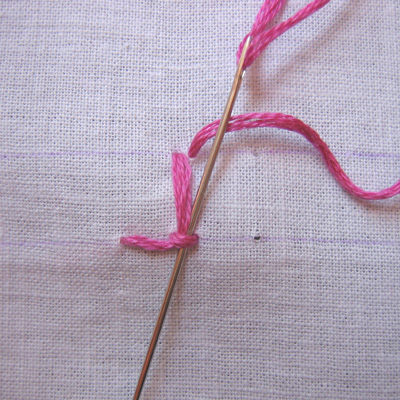
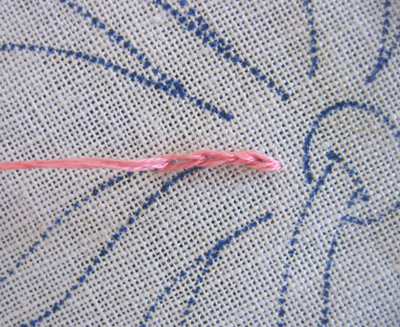
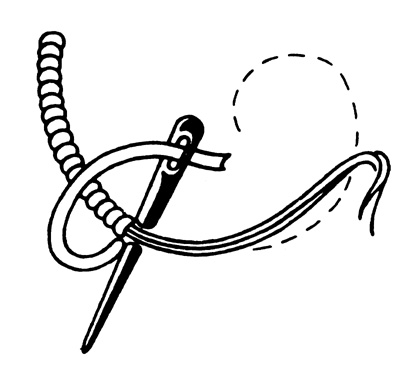
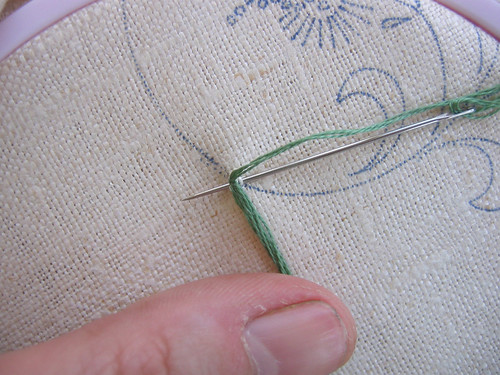
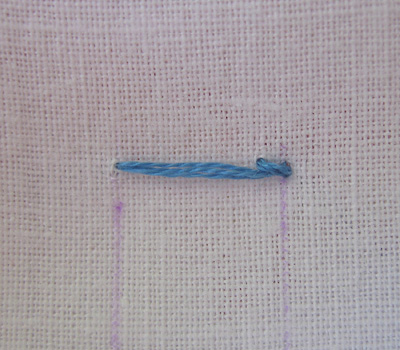
Now weave your thread over the last vertical stitch and under the stitch next to it.
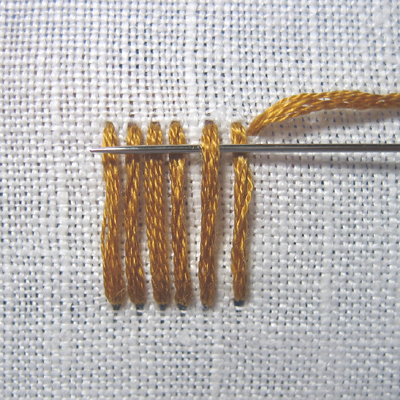
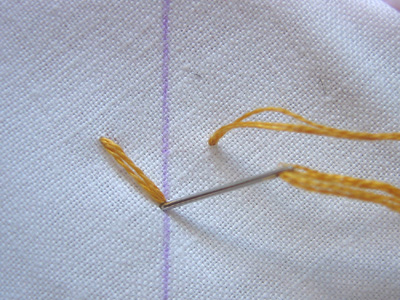
Continue weaving under and over the stitches, taking the needle to the back just to the left of the first vertical stitch and level with the line of weaving.
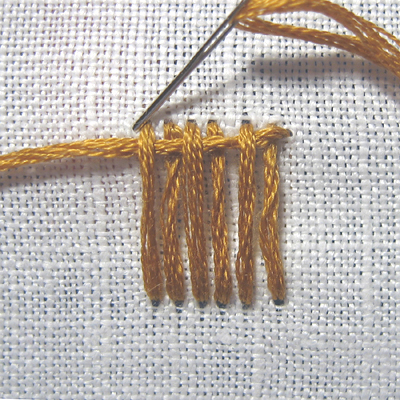
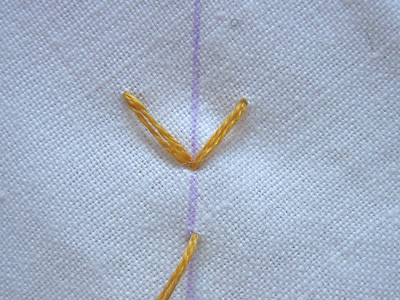
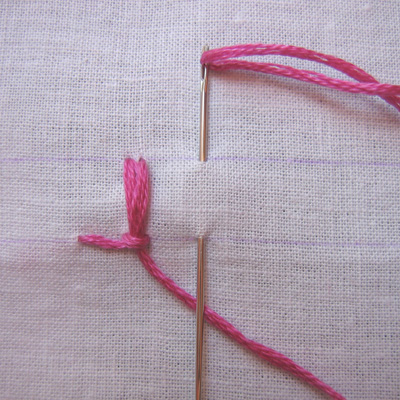
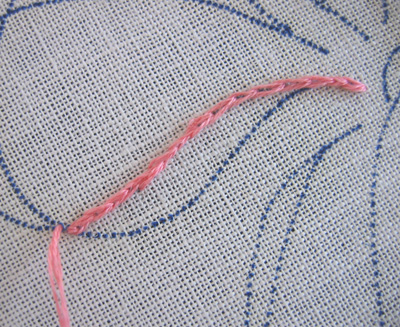
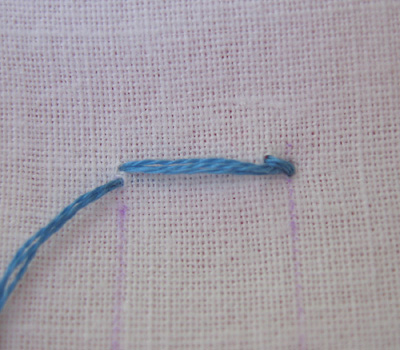
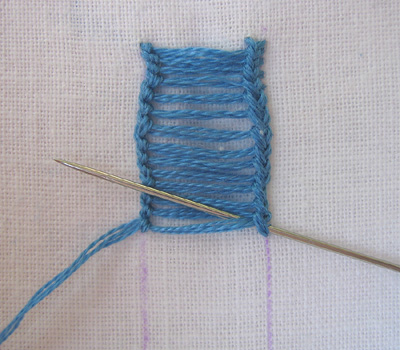
After pulling your thread through bring your needle to the front just below (I counted three holes) where your thread emerged.
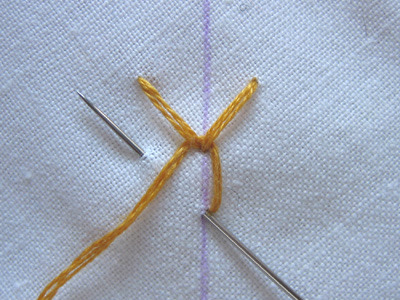
Now start back, weaving from from left to right and working under and over the opposite threads from last time.
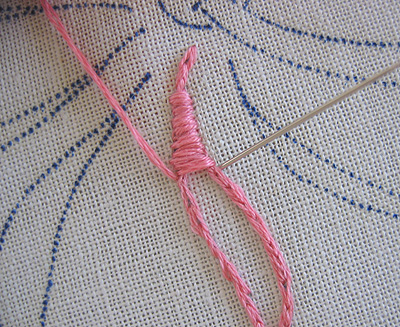
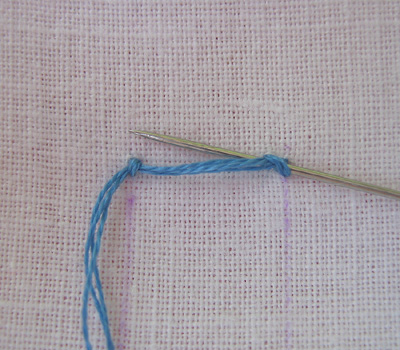
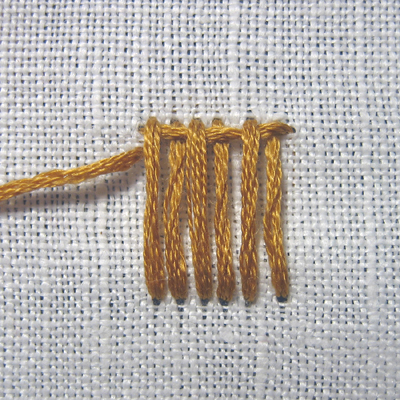
Keep going back and forth, going down at the end of a row and up again to start the next. I found that it helped to use the needle to pack the threads in tight against the previous row, like you'd use a shuttle for actual weaving.

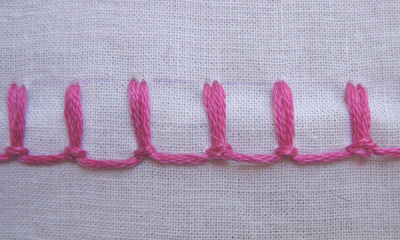
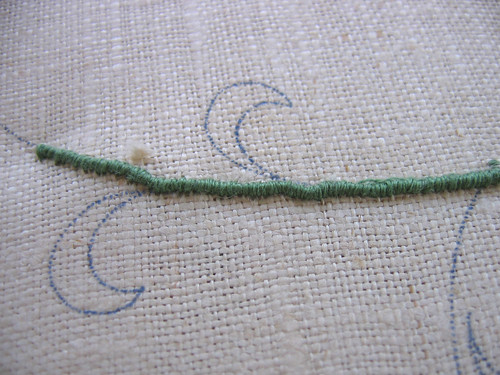
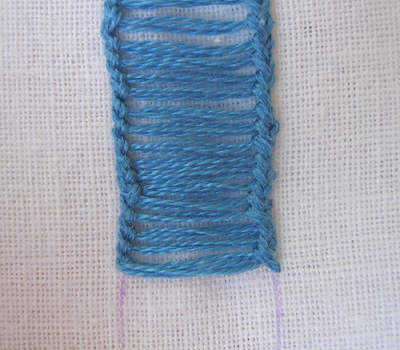
Here's what it looks like finished.

I love the texture of this and can't wait to try it on an actual project. Because each row is secured by taking the thread to the back, you can see how easy it would be to have this conform to an irregular shape—like a basket with curved sides.