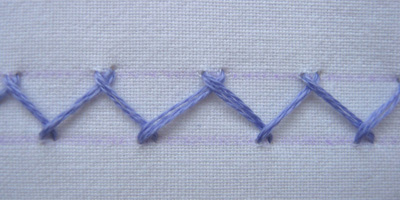
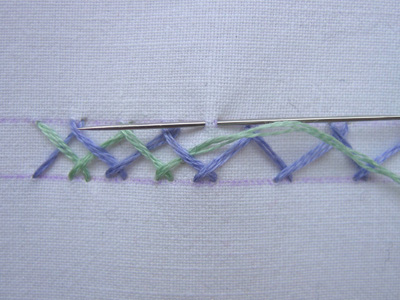
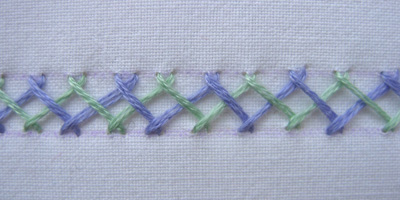
Showing posts with label stitch school. Show all posts

02 January 2010

couching

In embroidery, couching is a technique for attaching a length of thread to a base fabric by taking tiny stitches over it at regular intervals. The word couch comes from the French verb "coucher" which means to lay down, so it really applies to attaching just about anything (embroidery floss, thin cord, wool, or even ribbon) as long as it uses stitches over or on top. You can couch a length of ribbon with a row of French knots running down the center or by laying a row of herringbone stitches over the top. I'm going to talk about the traditional embroidery stitch today but don't be afraid to think outside the box and use the technique for attaching other things besides thread.

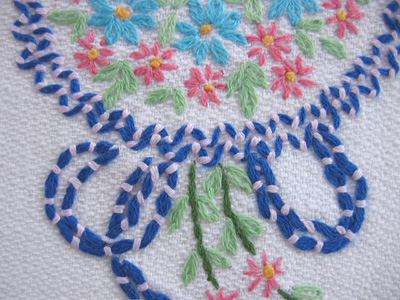
Couching looks really pretty when worked in two colors and is a nice alternative for working outlines, especially ones that form loops and have lots of curves. I discovered a few examples where it's used this way in my linen stash. The first is from a runner with embroidered flower bouquets and ribbons and each of those ribbons is done with couching—the base thread is dark blue and the couching stitches are pink.

couch8

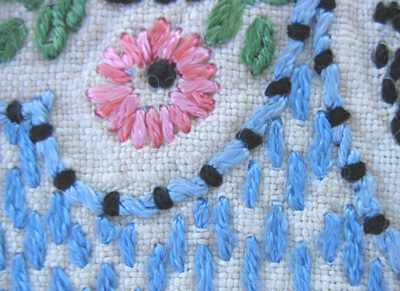
In the second example it's used as a substitute for outline stitch and is done with black stitches over blue.

couch7

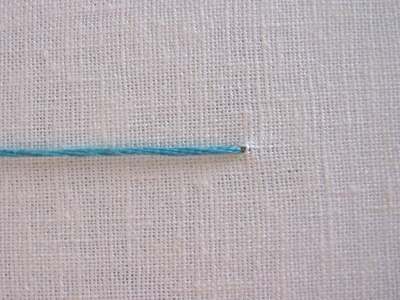
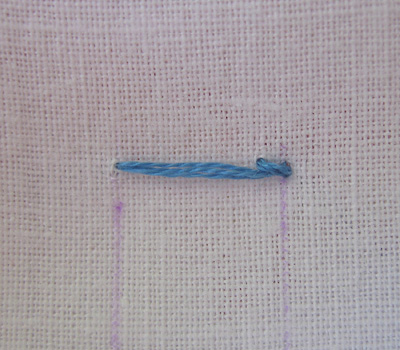
This is a super easy stitch. Bring your base or foundation thread to the front and lay it on the fabric. I worked a straight line but you can use it for curves as well. In fact, it works very well as a freeform technique if you don't quite know where you're going.

couch1

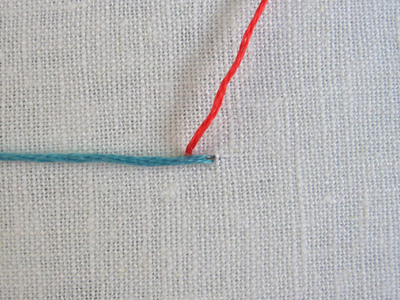
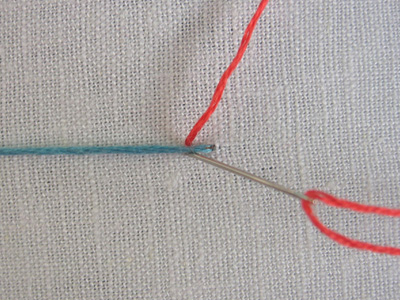
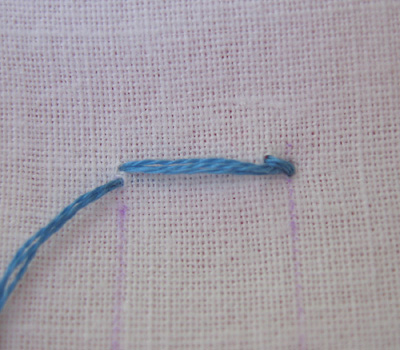
Now bring your couching thread to the front just above the thread you’ve laid down.

couch2

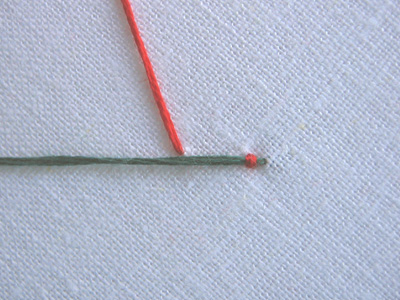
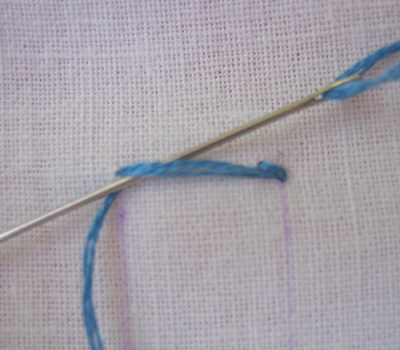
Take a tiny stitch over the base thread and pull the thread through to the back.

couch3

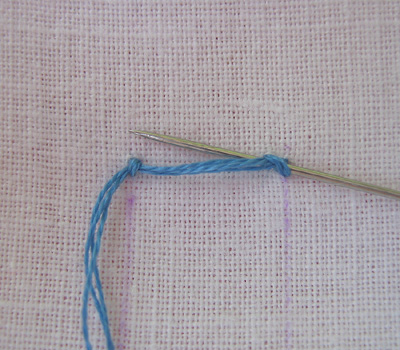
Bring your needle up a short distance from the first stitch and repeat.

couch4

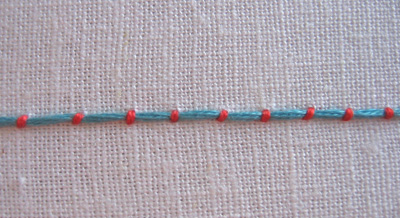
Here’s what it looks like finished—

couch5

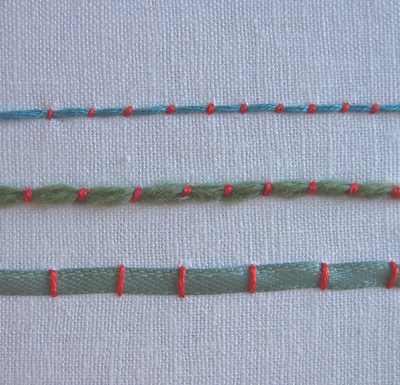
And here are some examples using different foundations. The middle one uses several strands of needlepoint wool and the bottom one uses thin satin ribbon.

couch6

I mentioned earlier that you can attach just about anything this way. Artist Megan Jeffery uses couching to attach wool yarn with embroidery thread to felt—and you can see some examples of her work here and here. And embroidery artist Debra Spincic has some beautiful pictures of her work on Flickr, many of which involve couching with ribbon and alternate stitches over the top. Be sure to follow her photostream to see lots of examples of the stitches we've already learned.

01 January 2010

overcast stitch

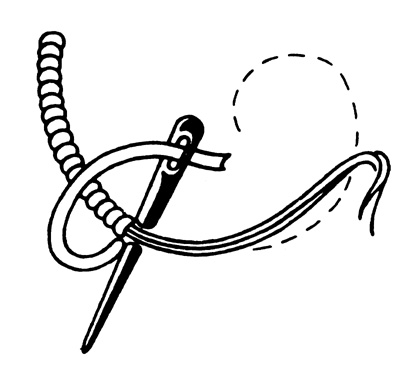
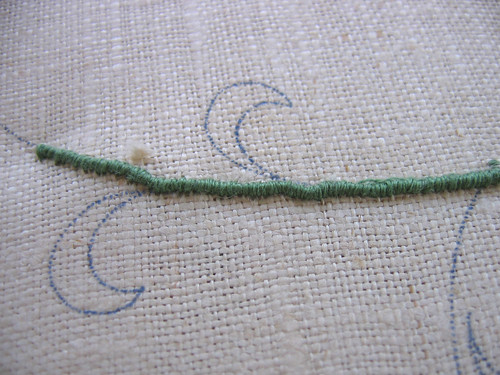
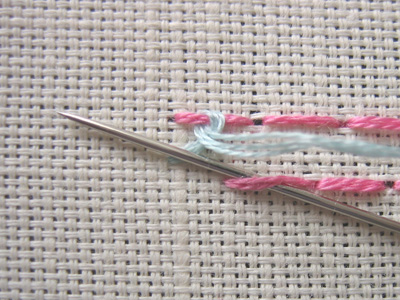
I found this stitch in a vintage (1964) Coats & Clarks booklet called "One Hundred Embroidery Stitches"—the illustration is reproduced from that book. Called overcast stitch (or trailing) stitch it's kind of a cross between couching and satin stitch. It resembles a fine cord and would be perfect for stems instead of outline stitch. Here's how to do it:

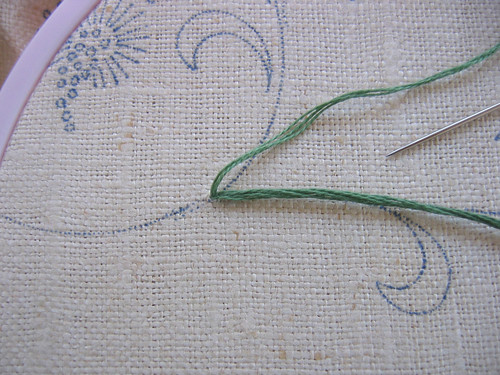
Start by bringing what we'll call the laid threads up to the surface. I used six strands of floss because I wanted a nice thick cord; use less for a more delicate one. Rethread your needle with a second thread in the same color (I used three strands) and bring it to the front using the same hole as the laid threads.


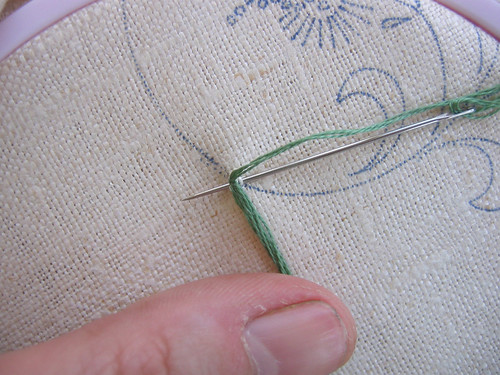
Hold the laid threads in position on the line of your design with your left thumb.


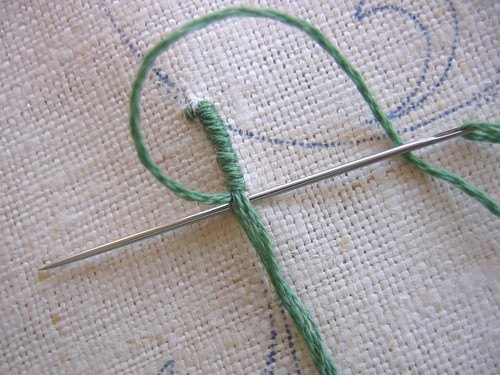
Work small satin stitches very closely together over the laid threads. You're doing the same technique as with couching but with that stitch they're spaced farther apart.


When you come to the end of your stem, rethread the laid threads onto your needle and take it to the back. Then take your overthread to the back in the same hole. If you're working a short line it might save time and be less hassle to use two needles and keep the first threaded with the laid threads. Either way is fine.

Here's what it looks like when you've finished. My line is kind of wavy—I think I need to practice keeping it straighter :)
monograms

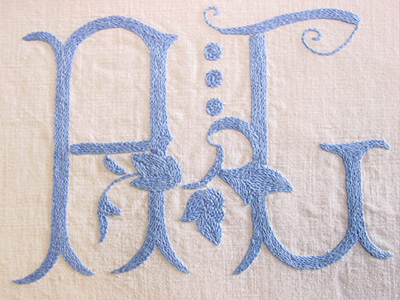
Some beautiful examples of vintage embroidery can be found on monogrammed linens. It was very popular in the 1940s to embroider ones initials onto household linen—dinner napkins, sheets, and towels, and also onto handkerchiefs. This was done in two basic styles—tiny cross stitch (often done in redwork) and satin stitch (often in white on white or a pale color like light blue or pink). Some examples of monograms:

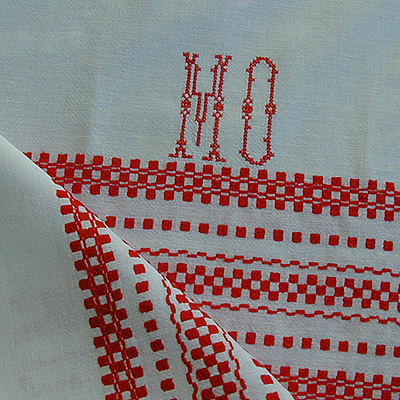
A redwork towel with monogram "MO" done in tiny cross stitch:

cross stitch redwork
Cynthia's Antiques and Linens

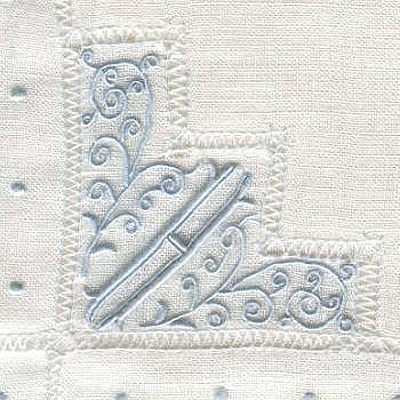
An elaborately-embroidered handkerchief with the letter "H" surrounded by scrolls:

H hanky
DeWitt and Co.

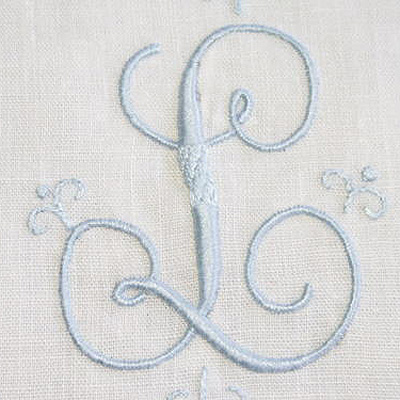
A light blue elaborate script letter "L" done in satin stitch:

monogram "L"
Ebay

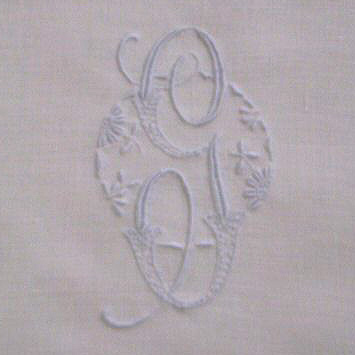
A monogram "G" done in a combination of stitches—outline, french knots and lazy-daisy:

monogram "G"
Ebay

A two letter monogram done in a chunkier style. I believe this is done in tiny closely-spaced chain or Pekinese stitch:

linen sheet
Ebay

You probably noticed that some of my examples are from Ebay and that's a great place to find monogrammed linens, either to just look at examples or to buy some for yourself. Search for "French linen sheets" and you'll find beautifully-embroidered linen sheets with monograms done in both cross and satin stitches.

Em's Heart has some lovely linens and handkerchiefs for sale.

Cynthia's Antiques and Linens has beautiful linens for sale including many towels and handkerchiefs with monograms.

Some of my fellow craft bloggers have done posts about monograms. See Redwork in Germany's post Vintage Monogram Stencils. And from Kimberly at Niesz Vintage Home, monogrammed linens with tons of pictures of things in her collection.

To read more about the history of monograms see Monograms & More and Love Those Letters at Embroideryarts.com

And finally, some free online patterns for monograms—

Two sets of large initials that you can cross stitch on a variety of projects.

Some designs with roses.

A vintage linen handkerchief pattern.

And do check older needlework books at your local library—many of them will have alphabets that you can adapt to your work.

ladder stitch

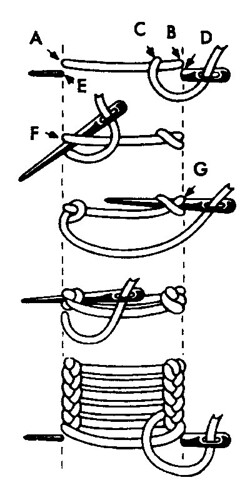
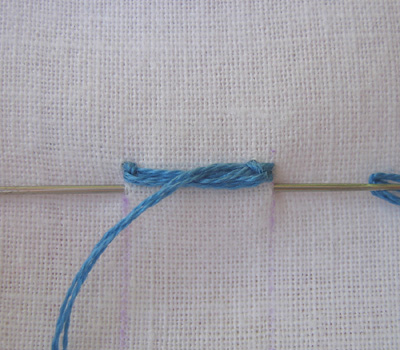
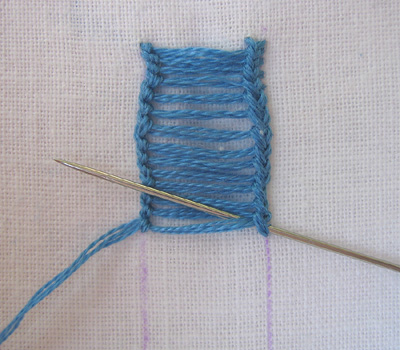
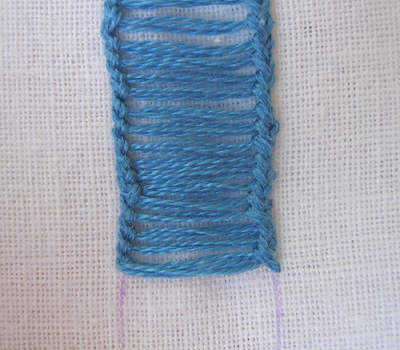
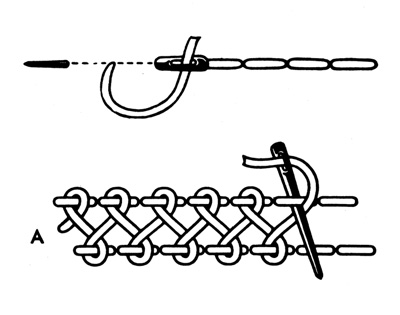
Ladder stitch is worked back and forth between two parallel lines and forms two chains with longer threads in between—just like a ladder! Here is the step-by-step diagram from my embroidery book in case the photos aren't clear enough. And when I refer to a letter in the directions it's this diagram that they correspond to.


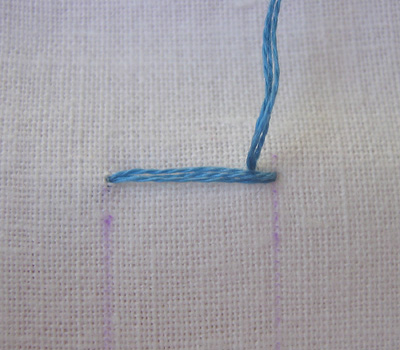
First draw two parallel lines on your fabric. Bring your needle up on the left side (A). Insert the needle directly across on the right side (B), then up again to the left and slightly above the connecting line of thread (C).


Insert the needle again on the right side directly below the end of the first stitch (D). See how the thread crosses over the end of the first line?


Now come up on the left side slightly below the beginning of the first stitch (E). You'll want to leave just a bit of space in between and you'll see why in the next step.


Keeping your thread below the needle come up over and then under the first thread (F), forming a small cross like you see on the other side.


Now, on the right side, pass your needle from right to left under the first cross (G). Take care to not catch any threads from the last stitch when you do this.


Continue in this way, working back and forth, with the needle passing under the cross on each side to form the braided edges.


Finish on the right side by taking your thread to the back, forming the last cross on that side.


My biggest problem with this stitch was keeping the sides even and I didn't do a very good job of it. I found it really hard to keep the right tension—if you pull too tight the sides bow in; too loose and the long thread in between looks too loose. I'll need to practice this some more (see, even I need to practice). A slightly stiffer fabric might be a good idea, too.

interlaced band stitch

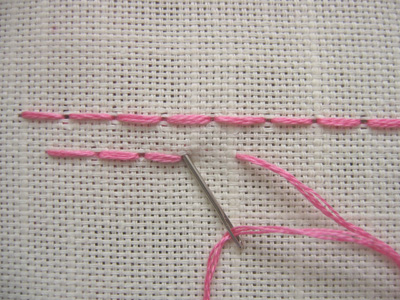
The Interlaced Band stitch is what's called a combination stitch. You start with a basic foundation stitch—in this case two rows of back stitch—then you work another thread on top. I found this in a vintage embroidery booklet and I'm going to include the drawing that illustrated it along with the usual photos. It seems a bit tricky at first but once you get the motion down it will get easier.


Start by working two parallel rows of back stitch about 1/2 inch apart. They should be exactly even in length (one reason I used a fabric with a very visible weave) and the second row should have the end of one stitch directly in line with the center of the stitch above it.


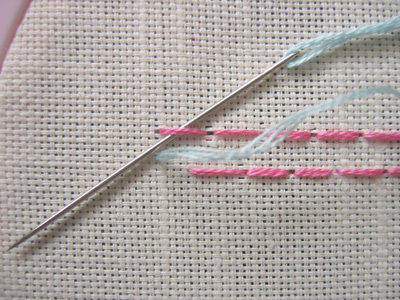
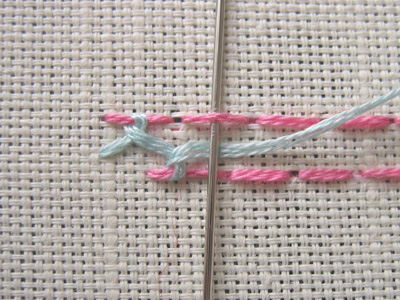
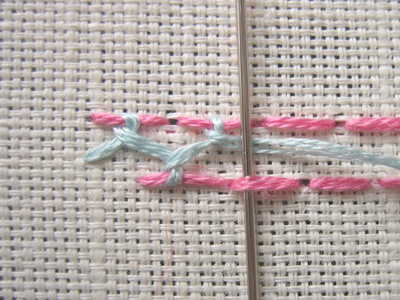
Thread your needle with a second color and come up between the rows and in line with the left side. Now go over and under the first stitch in the top row.


Pull the thread through so it forms a loop but don't pull too tightly—you want to stay centered on that first stitch and not pull it down.


Now, take your thread over and around the first stitch in the bottom row.


Continue this motion, alternating between the top and bottom rows of stitches, always going over and around and keeping your needle on top of the thread in the center.


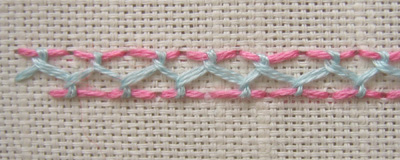
Here's what it looks like when you've finished.
herringbone stitch

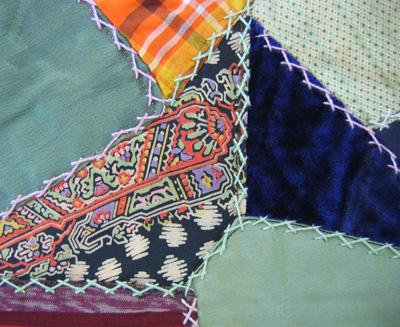
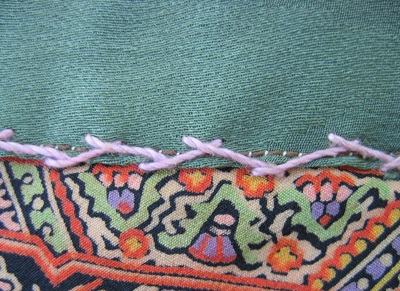
Herringbone Stitch is also called plaited stitch or catch stitch, and is often used to work decorative borders and to accent the patchwork in crazy quilting. This example is an unquilted crazy quilt top that I inherited from my grandmother and each fabric patch is stitched along the edge with herringbone stitch.
hb_10

hb_11

When you first try this stitch you’ll want to draw parallel lines to help you keep the spacing even. After you’ve practiced a bit you can do it by eye. Part of the charm of hand embroidery (and the reason I’m not crazy about machine embroidery) is that it’s not perfect. It’s hand done and it looks that way. Anyone can pop a template into their sewing machine and get perfect results. In my opinion, that’s not embroidery!

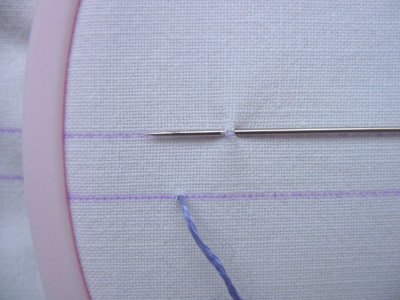
To start, bring your thread to the front on the bottom line. With your thread below the needle, take the needle from right to left on the upper line picking up approximately 1/16 inch of fabric. You can space this stitch tightly or loosely and vary the depth as well, depending on the look you want. The example in the quilt above and the towel edge below both have wide spacing and shallow depth. I'm using about 1/4 inch for both depth and width because I'm showing you a variation below where I'll need some space.

hb_1

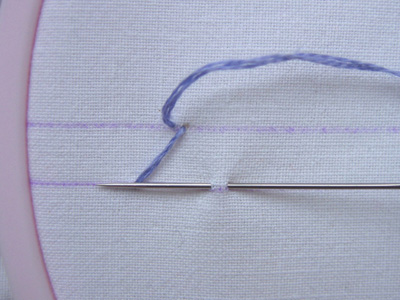
Pull the needle through. With the thread above the needle, take your needle from right to left on the bottom line, picking up 1/16 inch of fabric and spacing it the same distance away as your first stitch.

hb_2

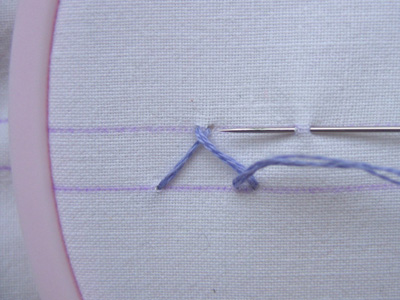
Pull the thread through. With the thread below the needle, pick up 1/16 inch of fabric on the upper line, the same distance away as before.

hb_3

Continue working evenly-spaced stitches, alternating between the upper and lower lines.

hb_4

Now, if you want to get a little fancier, do another row of herringbone stitch in a contrasting color in between your first row. Interlace your threads by weaving them under and over the first row. This is called double herringbone or Indian herringbone.

hb_5

hb_6

hb_7

Here's how it looks finished. Pretty cool, isn’t it?

hb_8

Here's an example from a tea towel, worked in a double row—

hb_9

If anyone has finished examples of embroidery they've done as a result of these lessons and would like to show-and-tell let me know and I'll post a picture here or a link to your project if you have your own blog.

running stitch

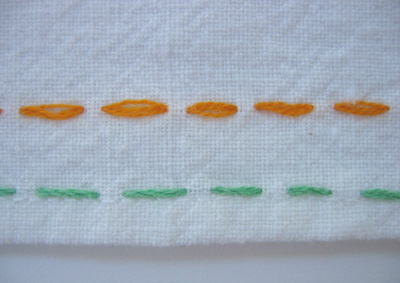
Running stitch is primarily used for borders and accent details. I’ve seen it trimming the bottoms of tea towels—a nice way to pick up some of the colors from your main image. This example is interesting because it shows the difference in how it looks if you keep your threads smooth so they fan out (top) or twisted like a braid (bottom). Either way is fine, just be consistent in each line that you do.

running_1

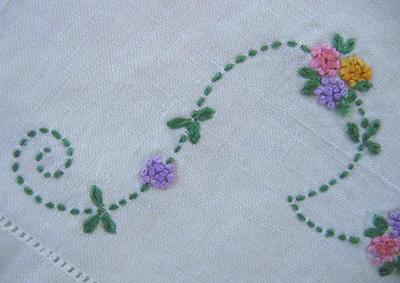
You can use it for stem-like scrolls—

running_2

And for structural elements—a trellis for flowers or a border like this Greek-key design.

running_3

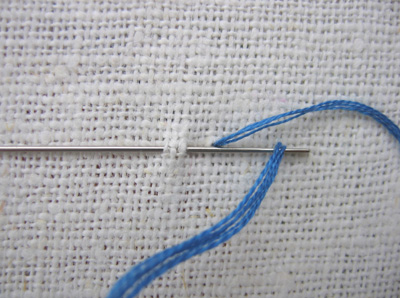
Bring your thread to the front on the right hand side of the line to be stitched. I didn't draw a line because my fabric is linen and it's easy to use the holes in the weave as a guide. Take a small stitch, skimming your needle underneath the fabric along the line.

running_4

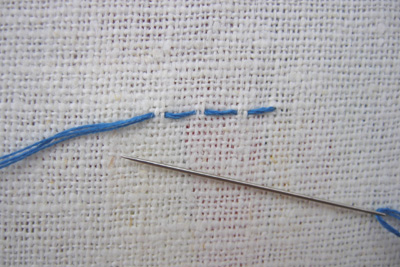
Pull your thread through, then take another stitch. Keep both the stitch length and the space in between the same each time. This is super easy when using linen—just count the same number of threads each time. At the end of the line weave your threads in at the back. And that's it.

running_6

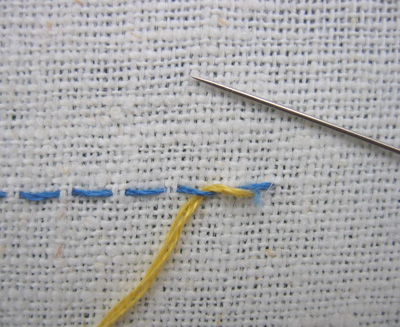
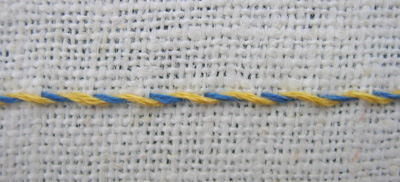
I almost feel like I'm cheating you this time around—it's so simple. So I'll add a variation called a Whipped Running Stitch. This is a nice way to add a second color to your work and makes a great-looking braided line.

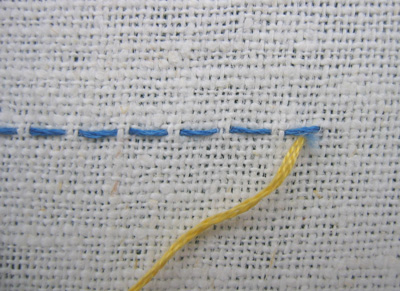
After you've completed a line of running stitch, change your thread color. Bring the thread to the front just below the center of the first stitch on the right hand side.

running_7

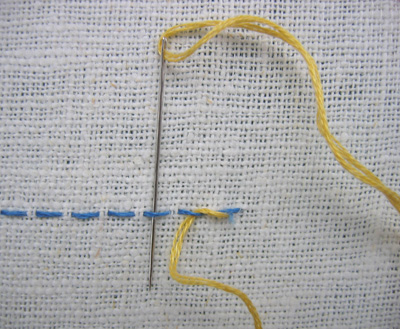
Take your needle from top to bottom under the second stitch, making sure that you don't split the thread or pierce the fabric.

running_8

Pull the thread through keeping the tension loose. Take the needle from top to bottom under the third stitch; pull through.

running_9

Continue to the end of the line and take your thread to the back under the center of the last stitch. Here's what it looks like finished—

running_10