29 April 2011

an easy (really) crochet edging

crochet_closeup
I have several stamped-for-embroidery pillowcases that already have the holes along the edge for attaching crochet. I just never knew how to go about attaching it. Well, I sort of knew but, having never crocheted before and finding most instructions daunting, I've never even tried.

But, there may be hope for me yet. Kathleen Mower, on her blog Miss Abigail's Hope Chest, has a tutorial for an easy zig-zag crocheted edging that might be the perfect thing to finish my project. Perhaps yours, too. She added hers to a towel (and it took just 30 minutes!), but it should work equally well for pillowcases. If you want to try this, she suggests skipping over some of the holes, choosing ones that are spaced about 3/8-inch apart; otherwise there won't be enough room for the little diamond shapes.

10 April 2011

Book Review: Embroidered Flora & Fauna

Embroidered Flora & Fauna

This lovely book was first published in 2007 in South Africa, again in Great Britain in 2008, and reprinted twice more in 2009. Which tells you something of it's popularity with lovers of needlework. And the projects are simply stunning. You'll get plenty of basics as to techniques and materials, too, but it's probably not for the beginning embroiderer. Think of it as a next step when you feel the need to add some dimension and texture to your work.

000379And three-dimension and texture are what this book is all about. Techniques include fabric manipulation, wire-edged applique, barbola (unwired stumpwork), needle lace on wire, trapunto quilting, working with felt and ribbon, beading, and metallic threads. Used together as mixed media, which you'll see in the projects that follow, they provide endless ways of creating realistic flora and fauna.

The projects, which are all inspired by the natural world, are categorized by color inspiration. Red, for example, features projects for three-dimensional felt gerbera daisies and wired applique bougainvilla; green has a nesting weaver bird incorporating actual feathers and a praying mantis that uses organza ribbon for his transparent wing. There are flowers, butterflies, insects, and birds and even a project for a realistic fig made from felt, yarn and beads (see the book cover for a close-up of this). All projects are illustrated with gorgeous photos of the finished piece and many have close-up views as well so you can really see the fine detail.

The book finishes with a section of black-and-white stitch diagrams and patterns for the projects that require them.

I found my copy at my local fabric store but it's also available on Amazon (and if you want to purchase a copy, please click through the link included above).

20 October 2010

embroidering on gingham

Gingham can be a great fabric to embroider on, and not just for working chicken scratch. It's already got a perfectly square grid so any patterns designed for cross stitch will work equally well on it. Use the corners of each small square (or skip over a few if the squares are very small) for your needle entry and exit holes.

rooster aprons

I found these two aprons recently at an antique mall—one pink gingham, the other yellow. Both have a row of brown and red chickens along the bottom. I'm including the pattern here — it's been a while since we've had a freebie! Enjoy!

Roosters
Click the pattern image for a larger version.

19 October 2010

redesign

Cross stitch sometimes gets a bad rap, especially here in the U.S., with the predominance of cutesy kits in craft stores and overly sweet projects in magazines. There's the exception to be sure, but in general, I haven't been impressed with what I've seen.

So, I was happy to be asked to review the redesign of Cross Stitcher magazine. My big concern, since this is a British magazine, was whether we could buy it here in the U.S. They assured me that it's available in some Borders stores (although, sadly, not in mine) and also by subscription for £79.99. Or you can purchase digital editions— single issues for £6.70 and a 13-issue subscription for £60. But, with the exchange rate currently not in our favor, the best deal is at Magazine Nook for $23.39 with free shipping. If you're located in the UK, of course, you shouldn't have problems finding it on the newsstand. The redesign debuts with the current issue (Issue 232 November 2010).

CrossStitcher Magazine

I'm still awaiting my printed issue to arrive by mail but I got a chance to preview an online sample. I'm impressed, both with the colorful and fun design of the magazine and with the projects. The magazine opens with a free chart for embroidering gingham heart sachets (each issue includes a free project pattern). Following are lots more fun projects—like felt baby booties (so cute), a realistic Jack Russell cushion, covered buttons, the ever-popular owls, and designs for Christmas cards. Every issue has a section called The Savvy Stitcher—this time it features applique, using Bondaweb, stitching basics, and alphabet charts for personalizing your projects.

Savvy Stitcher

Be sure to visit their website, sign up to receive their newsletter, and become a fan on Facebook. They offer lots of freebies on all of these and a chance to interact with other readers and stitching fans.

23 September 2010

reading patterns

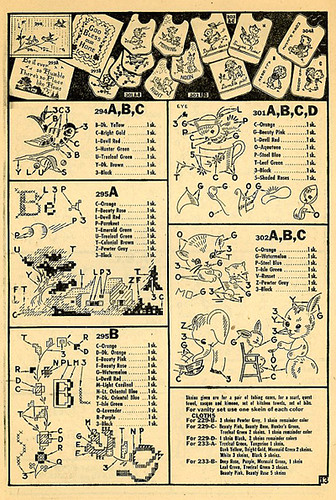
Stamped-for-embroidery projects originally came with a printed sheet that had color suggestions and instructions for which stitches to use to complete the design. Or, if you purchased your project at a department store, it came with a free booklet of instructions for all of that season's designs. This is what the 
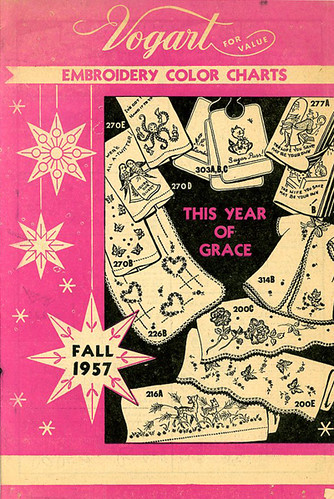
Vogart Fall 1957 booklet looked like—

Vogart Embroidery Color Charts Fall 1957 Page 13

That's great but, it's fifty years later. What if you find a vintage piece, and the instruction sheet has been lost, or there's no accompanying booklet? Color is personal and you'll have your own preferences—we'll save that subject for a future post. Let's talk about the stitches.

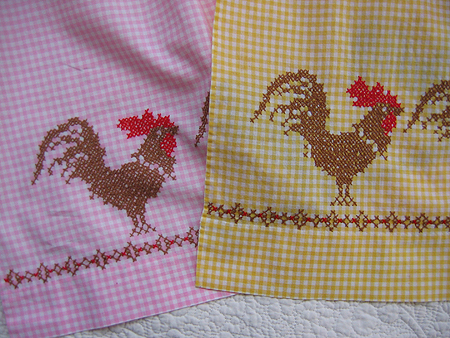
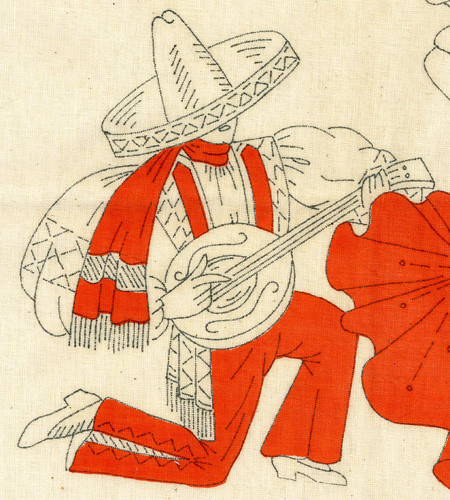
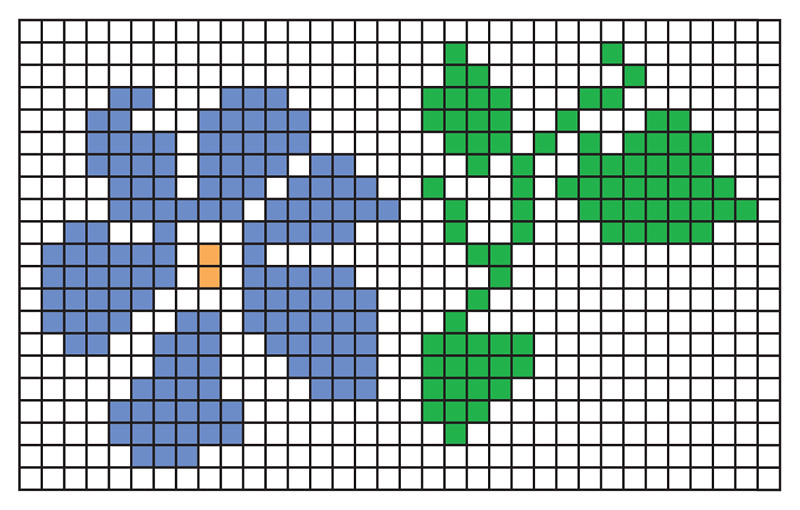
Here are a couple of pieces from my collection that I haven't started yet (click through to the larger versions on my Flickr page if you need to see them larger). The designs are printed on the fabric surface and will almost always wash out after the embroidery is completed. Let's look at some of the standard "symbols".
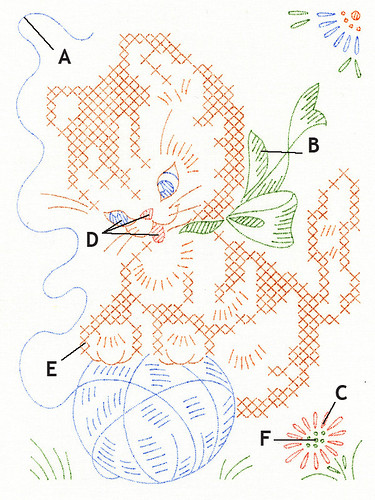
rooster pattern

cat pattern

A- All of the outlines in a design can be done in either stem or outline stitch. You could use any stitch with a continuous line—like chain or split stitch—as long as it's not too wide. You want to cover the line but not intrude too much on the space around it.

B- Any straight line that is less than 1/2 inch or so should be done in straight stitch. Anything longer and you run the risk of the thread lying too loosely on the surface. And that can lead to snagging.

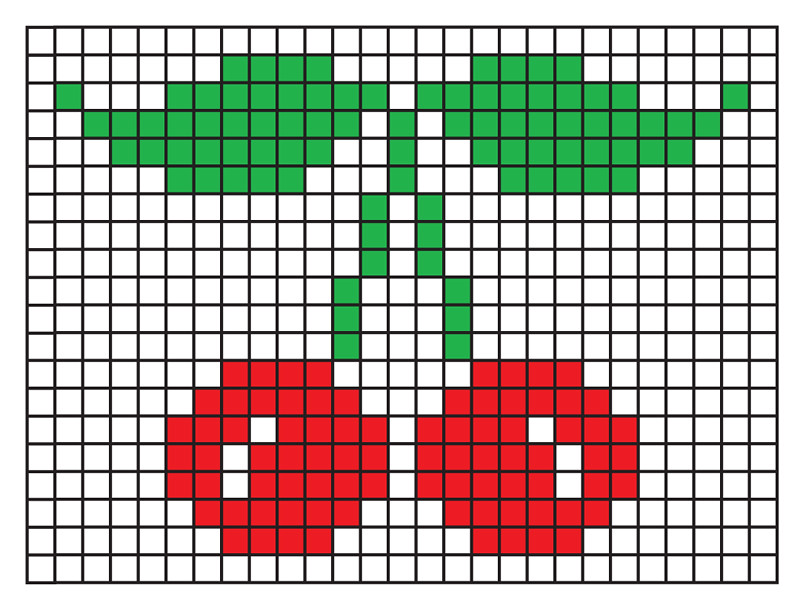
C- Leaves and flower petals are always done in detached chain stitch, commonly called lazy daisy.

D- When you see a shape with a series of lines across it, this tells you to use satin stitch. Or, you can simply outline the shape and just go over the crossed lines with straight stitch. You'll see this used for facial features, such as the eyes, noses, beaks, and tongues of animals.

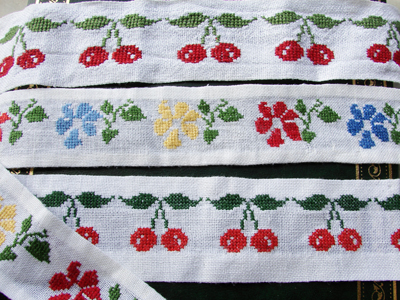
E- Little crosses symbolize cross stitch. There aren't any in the first example but there are lots in the second. You'll want to bring your needle up and down in a space halfway between the printed ends of the crosses; sometimes they're printed with a bit of space in between and you want to cover the printing completely in case it doesn't wash out.

F- Little open circles mean French knots. Commonly used for flower centers, random polka dots on clothing, and for making lambs look wooly.

That's about it. Don't feel that you need to learn all the advanced stitches to get started with embroidery. Most designs will use only these five or six stitches; some even less. Advanced stitches are nice when you're ready to add to your repertoire, but certainly not needed for most of your projects.

Having said that, you could try fly stitch for the Vs on the roosters neck or blanket stitch instead of the straight and outline stitches along his feathers and comb. The yarn ball in the kitten design could be done in a stitch with more dimension to make it fuzzier. Don't be afraid to try something different!

16 September 2010

color your world

In the premiere issue of Amy Powers' Inspired Ideas, Piper Wise shows how to add color to embroidery, a technique she learned from her husband's aunt. She uses the duck design from my Party Animals pattern to create a motif on a little girls dress.

You may have seen some of the vintage Vogart stamped-for-embroidery projects with colored areas already printed within the design. Here are a few examples:

flower girl

serenade

Using Piper's technique you can mimic this effect yourself. Another way to add color is to use acrylic paints. Acrylic paints are plastic-based so the paint fuses with the fabric and becomes water-resistant when dry. The nice thing about acrylics is that you can dilute them with water if you want a softer, more watercolor-like effect.

Generally, with stamped embroidery projects, you embroider the outlines of shapes; adding color helps to fill in some of the empty spaces in your design.

06 July 2010

cross stitch trims

Today's patterns are courtesy of Sandro Ilg who lives in Berne, Switzerland. Sandro is a recovering English literature major who decided that wasn't the career for him and now plans to study fashion design instead. He sews and loves to shop for thrift store goodies—clothing, fabric, trims, and buttons. Especially buttons, which he admits he has an addiction to (me, too). Like we couldn't tell from the name of his blog, Mr. Buttons :)

Sandro found these vintage trims while thrifting and asked if I could turn them into charted patterns to share with my Stitch School readers. Of course!

original trims

The original trims are embroidered on white linen that's been hemmed top and bottom. I'd probably embroider them directly on a finished item rather than on something that needs to be attached. But, that will depend on your project. The flowers would be cute for a little girl's dress; the cherries for an apron, tea towel, or how about a row along the bottom of curtains in a cherry-themed kitchen?

cherry pattern
(Click through for a larger version)

The only change I made is to add a few yellow crosses in the center of the flower—it seemed to need something there but you can leave it out if you like. Done in a medium purple-blue colored floss, they look very much like a flower we call periwinkle or vinca. Use whatever colors you like. Try brown centers with a yellow flower (like black-eyed Susans).

flower pattern
(Click through for a larger version)

Thanks Sandro for sharing your treasures. If anyone else has a vintage hand-embroidered item they'd like to share, let me know. I'd be happy to convert it for you. And I'm always happy to post photos of your finished embroidery projects as inspiration for others. Let's spread the embroidery love!