
That's great but, it's fifty years later. What if you find a vintage piece, and the instruction sheet has been lost, or there's no accompanying booklet? Color is personal and you'll have your own preferences—we'll save that subject for a future post. Let's talk about the stitches.
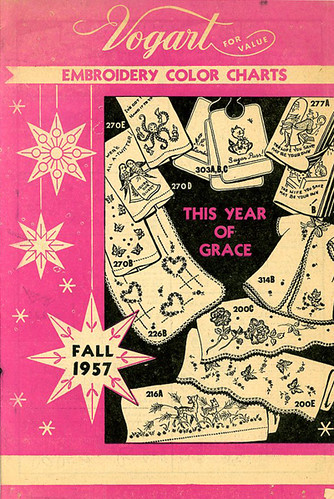
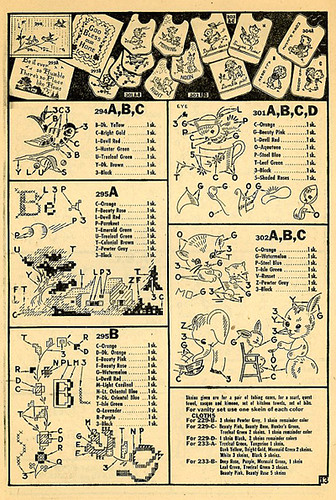
Here are a couple of pieces from my collection that I haven't started yet (click through to the larger versions on my Flickr page if you need to see them larger). The designs are printed on the fabric surface and will almost always wash out after the embroidery is completed. Let's look at some of the standard "symbols".


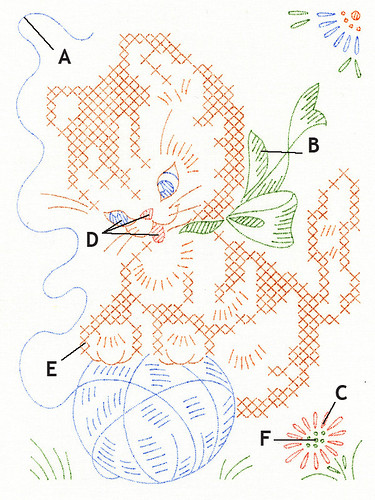
A- All of the outlines in a design can be done in either stem or outline stitch. You could use any stitch with a continuous line—like chain or split stitch—as long as it's not too wide. You want to cover the line but not intrude too much on the space around it.
B- Any straight line that is less than 1/2 inch or so should be done in straight stitch. Anything longer and you run the risk of the thread lying too loosely on the surface. And that can lead to snagging.
C- Leaves and flower petals are always done in detached chain stitch, commonly called lazy daisy.
D- When you see a shape with a series of lines across it, this tells you to use satin stitch. Or, you can simply outline the shape and just go over the crossed lines with straight stitch. You'll see this used for facial features, such as the eyes, noses, beaks, and tongues of animals.
E- Little crosses symbolize cross stitch. There aren't any in the first example but there are lots in the second. You'll want to bring your needle up and down in a space halfway between the printed ends of the crosses; sometimes they're printed with a bit of space in between and you want to cover the printing completely in case it doesn't wash out.
F- Little open circles mean French knots. Commonly used for flower centers, random polka dots on clothing, and for making lambs look wooly.
That's about it. Don't feel that you need to learn all the advanced stitches to get started with embroidery. Most designs will use only these five or six stitches; some even less. Advanced stitches are nice when you're ready to add to your repertoire, but certainly not needed for most of your projects.
Having said that, you could try fly stitch for the Vs on the roosters neck or blanket stitch instead of the straight and outline stitches along his feathers and comb. The yarn ball in the kitten design could be done in a stitch with more dimension to make it fuzzier. Don't be afraid to try something different!


2 comments:
thank you much for this fyi...i come across many partial embroidery projects as i yard sale so it's nice to get some direction when there is none in the pkg! :)
This blog is really helpful for those who are learning embroidery or doing everything from scratch.:)
Post a Comment