There are actually a couple of ways to work satin stitch. One involves outlining your shape with split stitch and we haven’t done that one yet. So, this week I’ll show you an easier way to do this stitch and next week I’ll do split stitch and explain the difference.
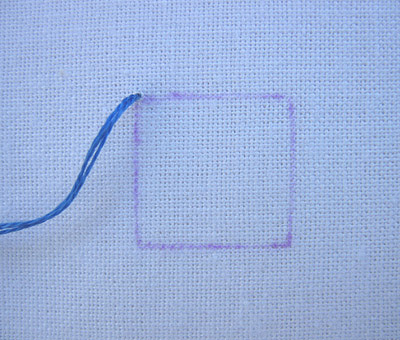
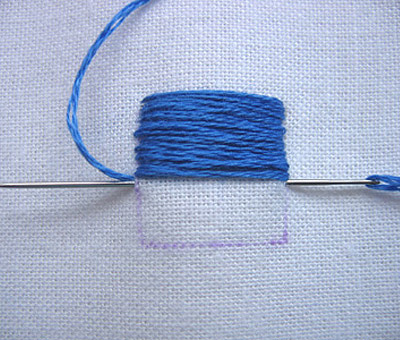
To do it this way you’ll need a clearly-defined shape drawn onto your fabric. I’m using a square but it can be any shape you like.
Bring your needle to the front at a corner of your shape.
Take your needle down at the opposite corner, then up again right next to where your needle first emerged.
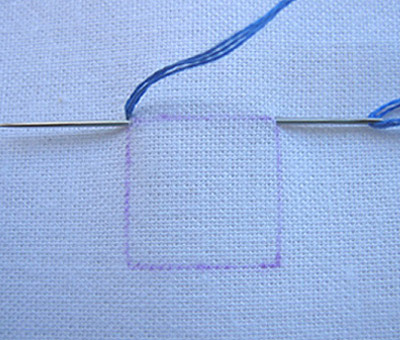
Pull the thread through making sure your floss lays flat.
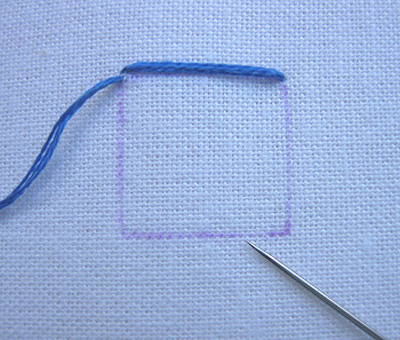
Placing your stitches close together, continue along until your shape is filled. Follow the exact guidelines you’ve drawn for a smooth, even edge. This is actually pretty hard to achieve so I'm looking forward to trying the outlining technique.
When you’re finished filling the shape, hide your ending thread behind the shape by weaving it in under the threads on the back. You'll notice that the back looks very much like the front.
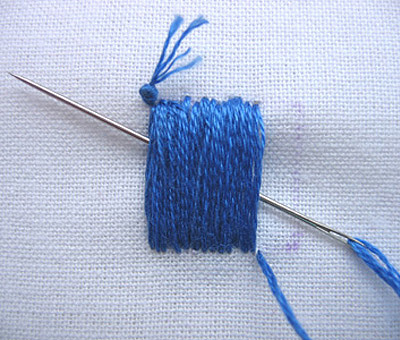
Essentially you’re doing the same stitch we learned last week except that you’re packing them closely together to make a smooth surface.
With the split stitch technique you’ll first outline your shape then work over that outline. Another technique is called padded satin stitch. For this you make a series of small stitches in the center of your shape, then work the satin stitch over the top. This raises the surface of your shape slightly. You’ll see this technique used a lot in whitework.
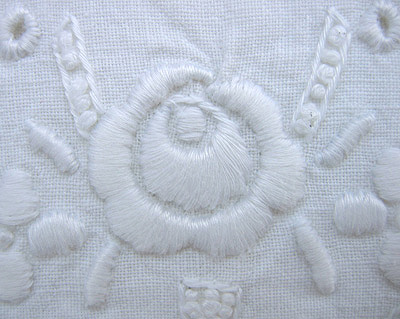
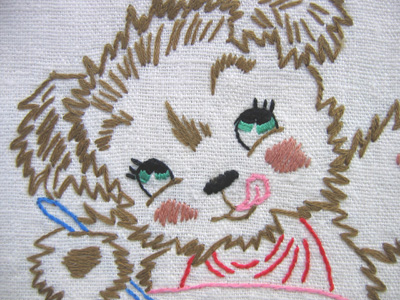
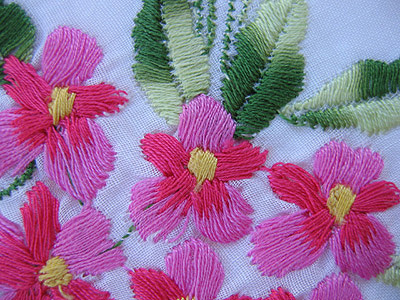
Here are a few examples of satin stitch. It’s great for flower petals and leaves.
And for animal eyes and noses.